> ## Documentation Index
> Fetch the complete documentation index at: https://docs.airmdr.com/llms.txt
> Use this file to discover all available pages before exploring further.
# Incident.io
> Incident.io is a incident management platform designed to help teams respond to, manage, and learn from incidents more effectively—especially within fast-moving tech environments like SaaS companies, DevOps teams, and engineering organizations.
### ✅ **Prerequisites**
Ensure you meet these prerequisites before starting:
* **Active **[**incident.io**](http://incident.io)** Account** (Administrator privileges recommended)
* **Verified Email Address** linked to your [incident.io](http://incident.io) account
* **Permission** to generate API keys (Usually Admin or Developer role)
### 🔑 Generate an API Key in incident.io for API Authentication
To generate an API key in the incident.io UI for integrating with AirMDR, follow these steps:
1. Navigate to [incident.io](https://app.incident.io/login) and sign in with your credentials.
1. Click on your profile avatar or initials in the top-right corner.
2. From the dropdown menu, select **Settings**.
3. In the Settings sidebar, click on **API Keys**.
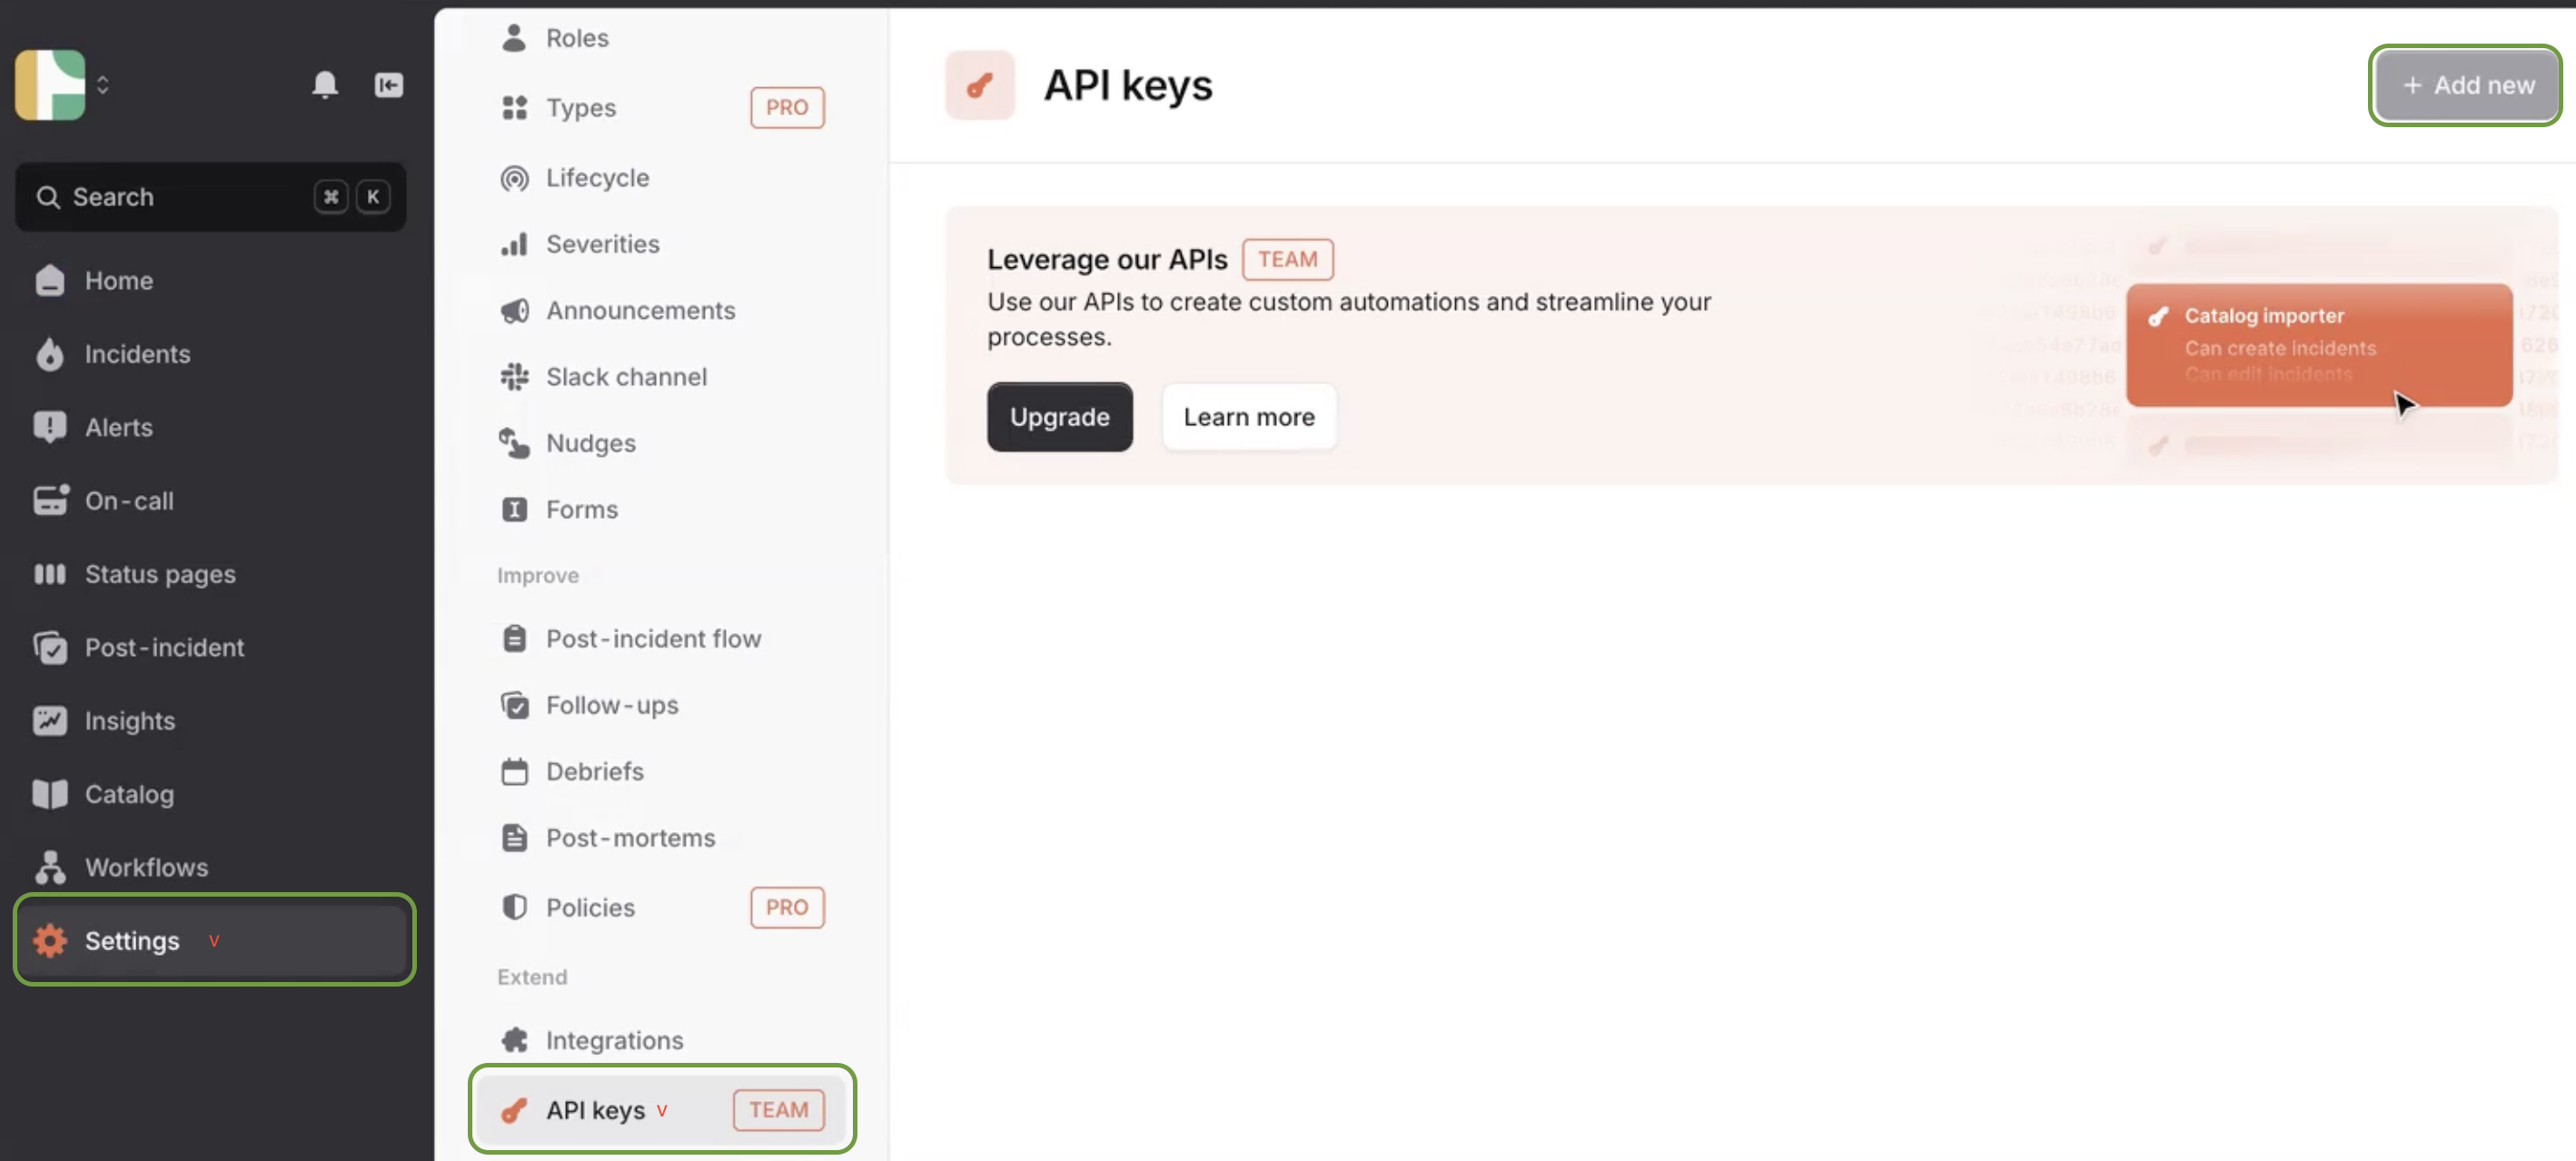 1. Click the **+ Add new** button in the top-right corner.
2. Provide a descriptive name for the API key (e.g., `AirMDRIntegration`).
3. Select the appropriate permissions for the API key. Common permissions include:
* Create incidents
* Edit incidents
* Create and manage on-call resources
* View private incidents (if necessary)
4. Click **Create**.
This is the only time the **API Key** will be displayed. \
Copy and securely store the value in your preferred password manager or secure storage solution.
Email the **API key** to AirMDR \
or \
Self configure incident.io in the AirMDR Integrations Dashboard.
### Skills Provided by this Integration
| Skill ID | Purpose |
| :------------------------------ | :----------------------------------------------------------------------------------------- |
| **Create Incident.io Incident** | Create a new incident in Incident.io with specified parameters. |
| **Fetch Incident.io Alerts** | Fetch alerts from Incident.io, including detailed summaries for analysis or monitoring. |
| **Fetch Incident.io Incidents** | Fetch incidents from Incident.io, including detailed summaries for analysis or monitoring. |
To view the details of Input Parameters and Output for the respective skills
* Go to [AirMDR → Incident.io](https://app.airmdr.com/integrations?search=incident.io) Integration page.
* Select the **Skills** tab and click on the required listed skills.
### Incident.io API Testing
Open **cURL** and run the following command to check if your API Key is working:
Request
```
curl -X GET https://api.incident.io/v1/incidents \
-H "Authorization: Bearer YOUR_API_KEY" \
-H "Content-Type: application/json"
```
Response
```
{
"incidents": [
{
"id": "in_abc123",
"name": "Database latency spike",
"severity": "high",
"status": "open",
"started_at": "2024-05-30T10:42:00Z",
"created_by": {
"id": "user_456",
"name": "Surya"
}
},
{
"id": "in_def456",
"name": "API outage",
"severity": "critical",
"status": "resolved",
"started_at": "2024-05-25T07:30:00Z",
"resolved_at": "2024-05-25T08:15:00Z"
}
]
}
```
### Configure Incident.io in the AirMDR Integrations Dashboard
1. Navigate to [AirMDR](https://app.airmdr.com/auth/login), provide the credentials, and click **Login**
1. Click the **+ Add new** button in the top-right corner.
2. Provide a descriptive name for the API key (e.g., `AirMDRIntegration`).
3. Select the appropriate permissions for the API key. Common permissions include:
* Create incidents
* Edit incidents
* Create and manage on-call resources
* View private incidents (if necessary)
4. Click **Create**.
This is the only time the **API Key** will be displayed. \
Copy and securely store the value in your preferred password manager or secure storage solution.
Email the **API key** to AirMDR \
or \
Self configure incident.io in the AirMDR Integrations Dashboard.
### Skills Provided by this Integration
| Skill ID | Purpose |
| :------------------------------ | :----------------------------------------------------------------------------------------- |
| **Create Incident.io Incident** | Create a new incident in Incident.io with specified parameters. |
| **Fetch Incident.io Alerts** | Fetch alerts from Incident.io, including detailed summaries for analysis or monitoring. |
| **Fetch Incident.io Incidents** | Fetch incidents from Incident.io, including detailed summaries for analysis or monitoring. |
To view the details of Input Parameters and Output for the respective skills
* Go to [AirMDR → Incident.io](https://app.airmdr.com/integrations?search=incident.io) Integration page.
* Select the **Skills** tab and click on the required listed skills.
### Incident.io API Testing
Open **cURL** and run the following command to check if your API Key is working:
Request
```
curl -X GET https://api.incident.io/v1/incidents \
-H "Authorization: Bearer YOUR_API_KEY" \
-H "Content-Type: application/json"
```
Response
```
{
"incidents": [
{
"id": "in_abc123",
"name": "Database latency spike",
"severity": "high",
"status": "open",
"started_at": "2024-05-30T10:42:00Z",
"created_by": {
"id": "user_456",
"name": "Surya"
}
},
{
"id": "in_def456",
"name": "API outage",
"severity": "critical",
"status": "resolved",
"started_at": "2024-05-25T07:30:00Z",
"resolved_at": "2024-05-25T08:15:00Z"
}
]
}
```
### Configure Incident.io in the AirMDR Integrations Dashboard
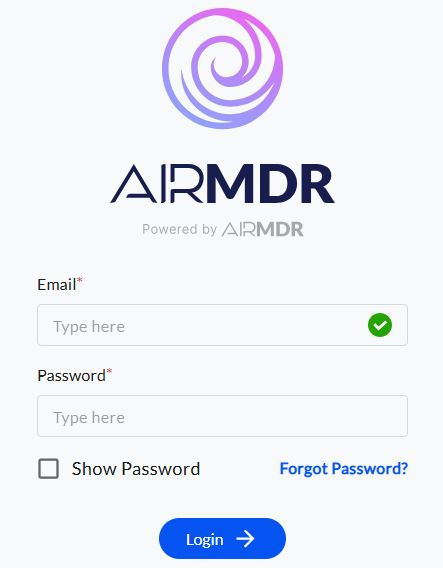
1. Navigate to [AirMDR](https://app.airmdr.com/auth/login), provide the credentials, and click **Login**
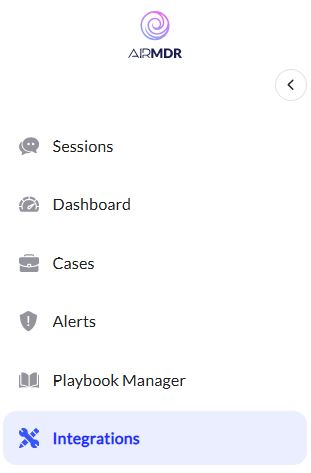
 2. Navigate to the AirMDR Integrations Dashboard in the left navigation pane and select **Integrations**
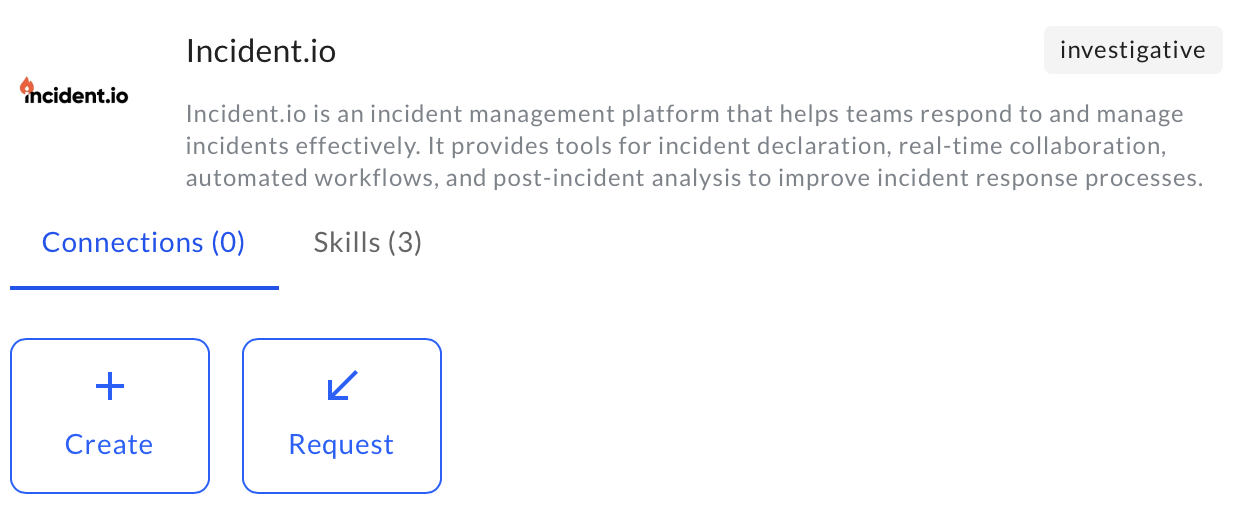
 3. Use the search option, enter the keyword "**Incident.io**", select the **Connections** tab, and click **Create**.
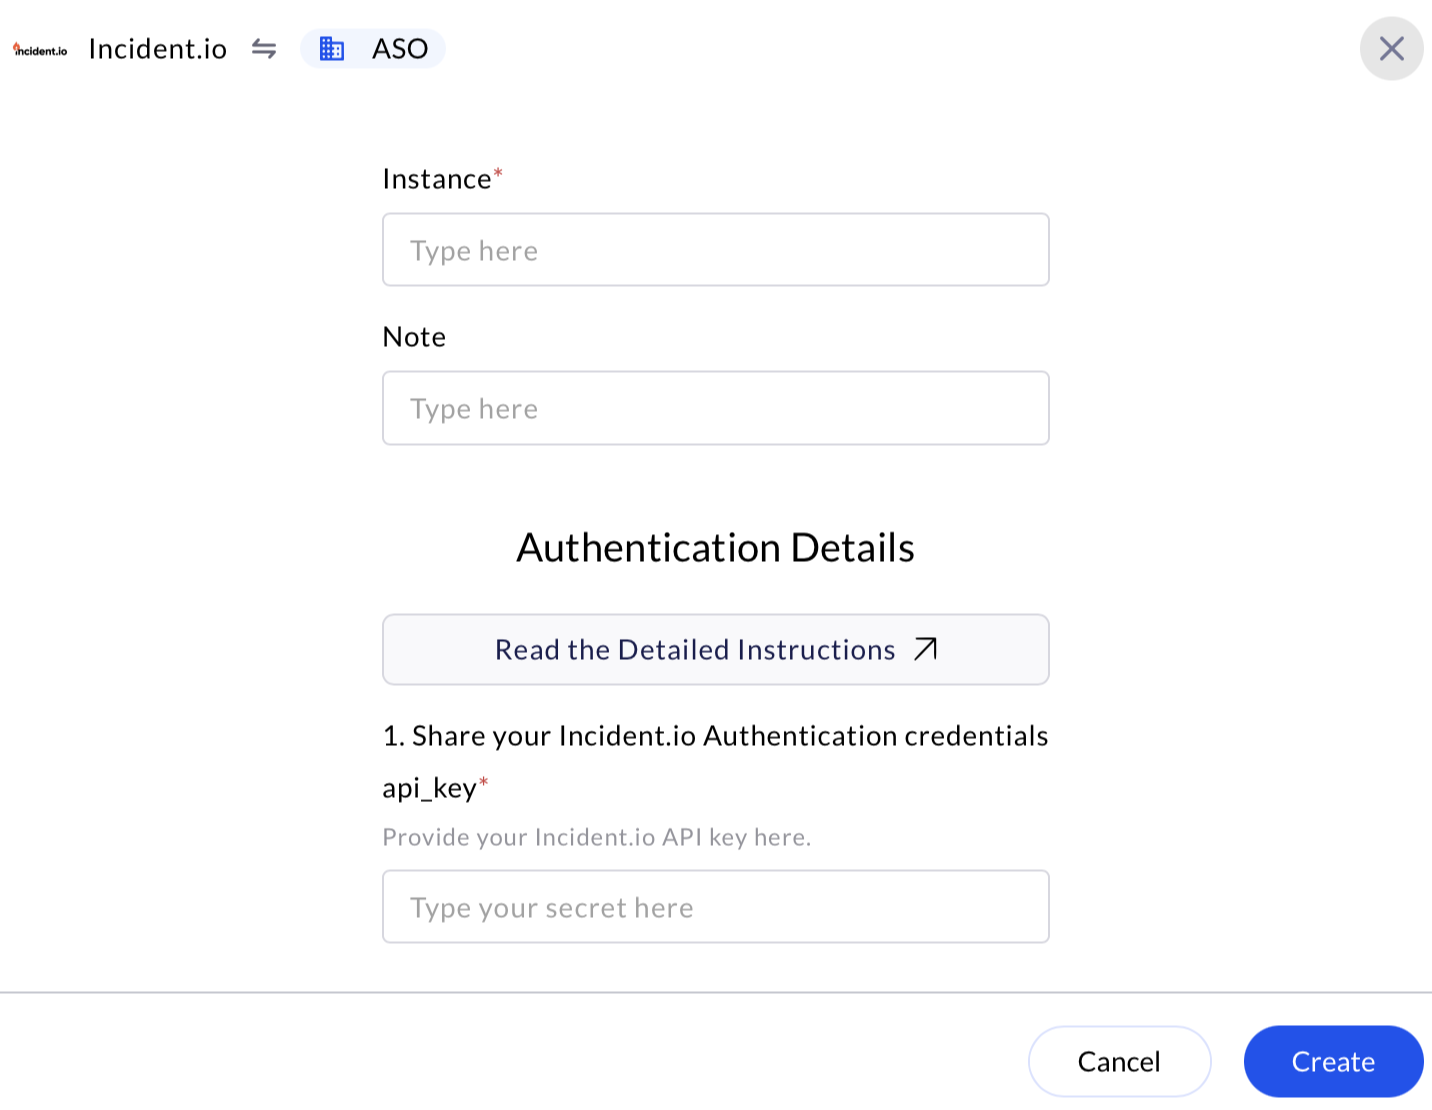
 4. Enter an unique name to the Instance (e.g., `your org name-Incident.io`) to easily identify the user connection by AirMDR.
5. Enter the generated **API Key** in the Authentication Details field params, and click **Create.**
4. Enter an unique name to the Instance (e.g., `your org name-Incident.io`) to easily identify the user connection by AirMDR.
5. Enter the generated **API Key** in the Authentication Details field params, and click **Create.**