> ## Documentation Index
> Fetch the complete documentation index at: https://docs.airmdr.com/llms.txt
> Use this file to discover all available pages before exploring further.
# Jamf (Just Another Management Framework) Protect
> Jamf Protect is a macOS-focused security solution developed by Jamf, and it provides endpoint protection, security visibility, and threat prevention tailored specifically for Apple devices, particularly macOS.
### Generate Jamf Protect Client Password and Client ID for API Authentication
To integrate with **Jamf Protect** via its API (for example, in order to use it with third-party tools like AirMDR, or custom apps), you need to generate the **Base URL**, **Client ID**, and **Client Password** via the Jamf Pro UI.
1. Login to the Jamf protect console with your credentials.
* URL: `https://your-tennant.protect.jamfcloud.com`
2. Provide the necessary credentials (**Email** and **Password**), and click **Sign In**.
Use an admin-level account with **privileges to manage API clients**.
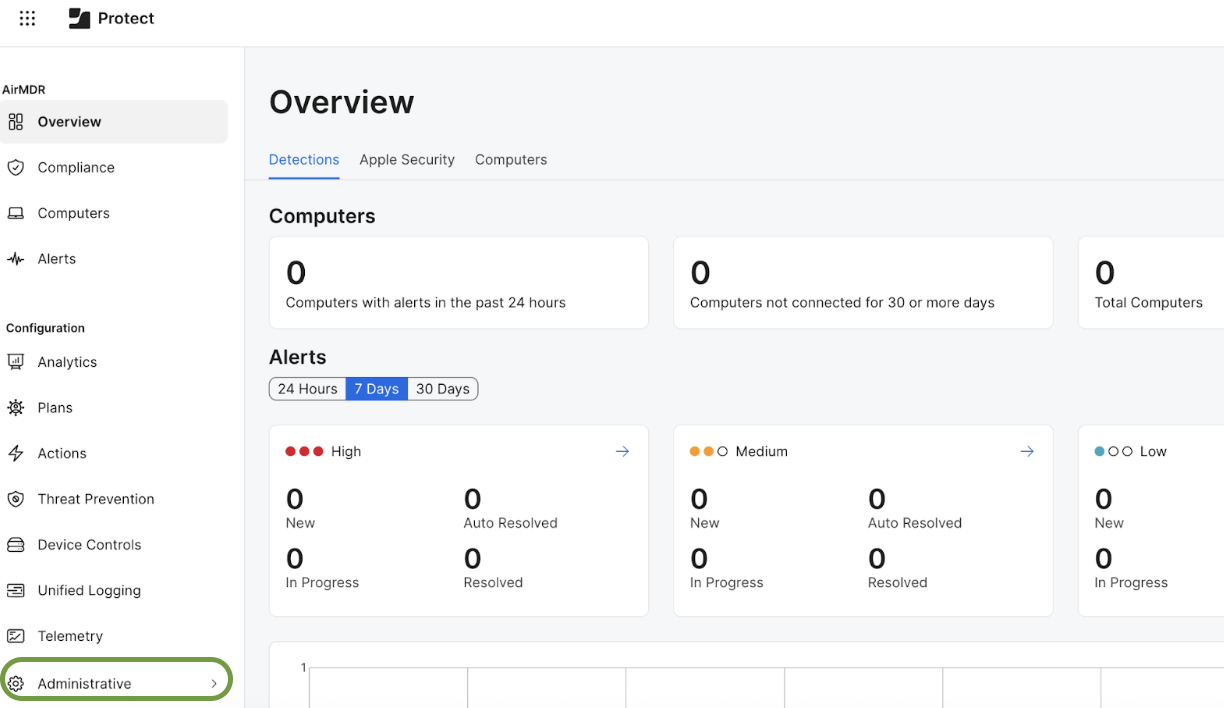
3. User will be redirected to the **Overview** Dashboard.
4. Click on the **Administrative** in the left navigation pane.
 1. Select **Administrative** → **API Clients**.
2. Click on “**Create API Client**”.
1. Select **Administrative** → **API Clients**.
2. Click on “**Create API Client**”.
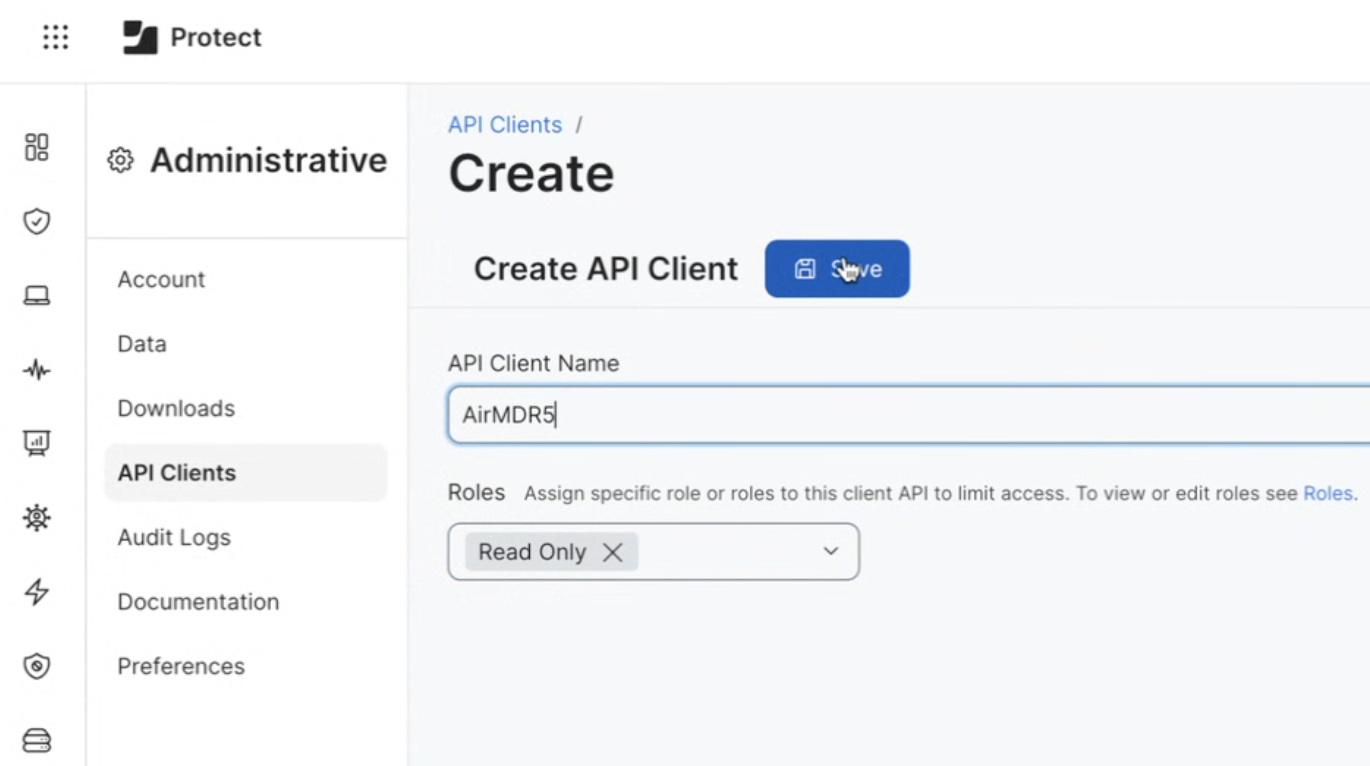 3. Fill in the Client Details form to create a new API client
* **API Client Name**: A name for your integration (e.g., `AirMDRIntegration`, `AirMDRConnector`).
* **Role Type**: Choose `Read Only` (Assign specific role or roles to this client API to limit access).
4. Click **Save**.
This is the only time the **API Client Password** will be displayed. \
Copy and securely store the value before clicking **Dismiss**.
1. Afer saving, a dialog box will display with your **API Client Password.**
3. Fill in the Client Details form to create a new API client
* **API Client Name**: A name for your integration (e.g., `AirMDRIntegration`, `AirMDRConnector`).
* **Role Type**: Choose `Read Only` (Assign specific role or roles to this client API to limit access).
4. Click **Save**.
This is the only time the **API Client Password** will be displayed. \
Copy and securely store the value before clicking **Dismiss**.
1. Afer saving, a dialog box will display with your **API Client Password.**
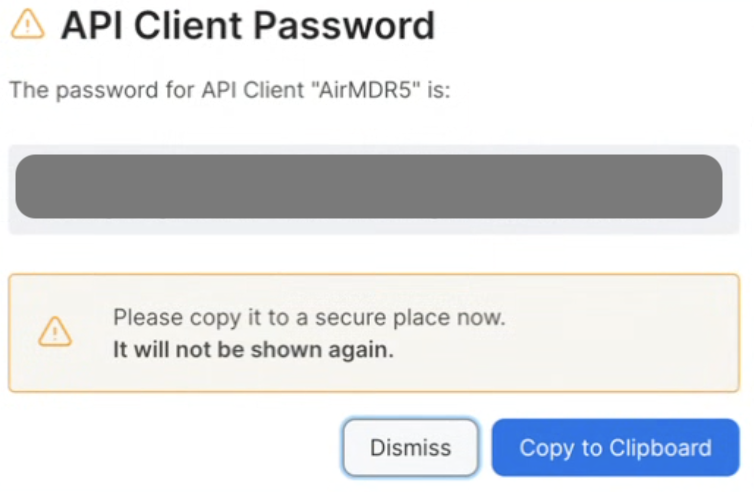 Use "**Copy to Clipboard**" option and securely save the API Client Password.
2. Once you close or click **Dismiss** on the **API Client Password** dialog box, you will be redirected to **Administrative** → **API Clients** → **API Client Summary** page.
3. Under the **Summary** tab, you can access
* **Client ID**
* **Token and API Endpoints**
Jamf Protect uses GraphQL for its API, and each request must include an authorization header with the access token obtained using the above credentials.
* The **Base URL** is simply your Jamf Protect URL: \
Example: [https://yourcompany.protect.jamfcloud.com](https://yourcompany.protect.jamfcloud.com)
Email the **Base URL**, **Client ID** and **Client Password** to AirMDR \
or \
Self configure Jamf in the AirMDR Integrations Dashboard.
### Skills Provided by this Integration
| Skill ID | Purpose |
| :----------------------- | :-------------------------------------------------------------------------------------------------------------------------------------------------------------------------------- |
| Get Jamf Protect Devices | Fetch detailed device information from Jamf Protect including IP address, hostname, username, device type, operating system, and OS version. |
| Get Jamf Protect Alerts | Fetch alerts from JAMF Protect API with optional filters for severity, hostname, status, tags, actions, and event type. Returns a list of alerts matching the specified criteria. |
To view the details of Input Parameters and Output for the respective skills
* Go to [AirMDR → Jamf Protect](https://app.airmdr.com/integrations?search=Jamf) Integration page.
* Select the **Skills** tab and click on the required listed skills.
### Jamf Protect API Testing
Open **cURL** and run the following command to check if your API Key is working:
Request
```
curl --request POST \
--header 'content-type: application/json' \
--url "/token" \
--data '{"client_id": "",
"password": ""}'
```
Response
```
{
"access_token": ,
"expires_in": 86400,
"token_type": "Bearer"
}
```
### Configure Jamf in the AirMDR Integrations Dashboard
1. Navigate to [AirMDR](https://app.airmdr.com/auth/login), provide the credentials, and click **Login**
Use "**Copy to Clipboard**" option and securely save the API Client Password.
2. Once you close or click **Dismiss** on the **API Client Password** dialog box, you will be redirected to **Administrative** → **API Clients** → **API Client Summary** page.
3. Under the **Summary** tab, you can access
* **Client ID**
* **Token and API Endpoints**
Jamf Protect uses GraphQL for its API, and each request must include an authorization header with the access token obtained using the above credentials.
* The **Base URL** is simply your Jamf Protect URL: \
Example: [https://yourcompany.protect.jamfcloud.com](https://yourcompany.protect.jamfcloud.com)
Email the **Base URL**, **Client ID** and **Client Password** to AirMDR \
or \
Self configure Jamf in the AirMDR Integrations Dashboard.
### Skills Provided by this Integration
| Skill ID | Purpose |
| :----------------------- | :-------------------------------------------------------------------------------------------------------------------------------------------------------------------------------- |
| Get Jamf Protect Devices | Fetch detailed device information from Jamf Protect including IP address, hostname, username, device type, operating system, and OS version. |
| Get Jamf Protect Alerts | Fetch alerts from JAMF Protect API with optional filters for severity, hostname, status, tags, actions, and event type. Returns a list of alerts matching the specified criteria. |
To view the details of Input Parameters and Output for the respective skills
* Go to [AirMDR → Jamf Protect](https://app.airmdr.com/integrations?search=Jamf) Integration page.
* Select the **Skills** tab and click on the required listed skills.
### Jamf Protect API Testing
Open **cURL** and run the following command to check if your API Key is working:
Request
```
curl --request POST \
--header 'content-type: application/json' \
--url "/token" \
--data '{"client_id": "",
"password": ""}'
```
Response
```
{
"access_token": ,
"expires_in": 86400,
"token_type": "Bearer"
}
```
### Configure Jamf in the AirMDR Integrations Dashboard
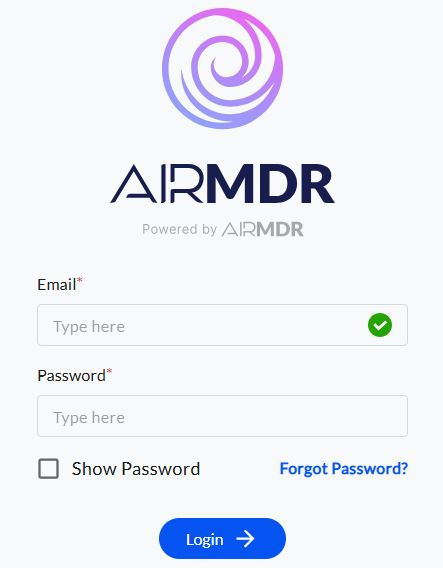
1. Navigate to [AirMDR](https://app.airmdr.com/auth/login), provide the credentials, and click **Login**
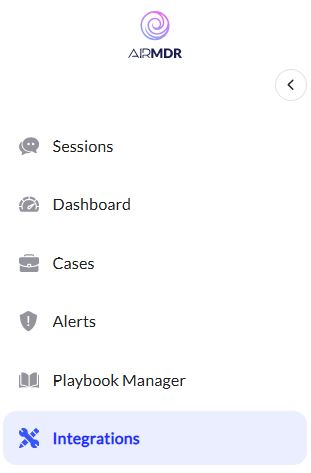
 2. Navigate to the AirMDR Integrations Dashboard in the left navigation pane and select **Integrations**
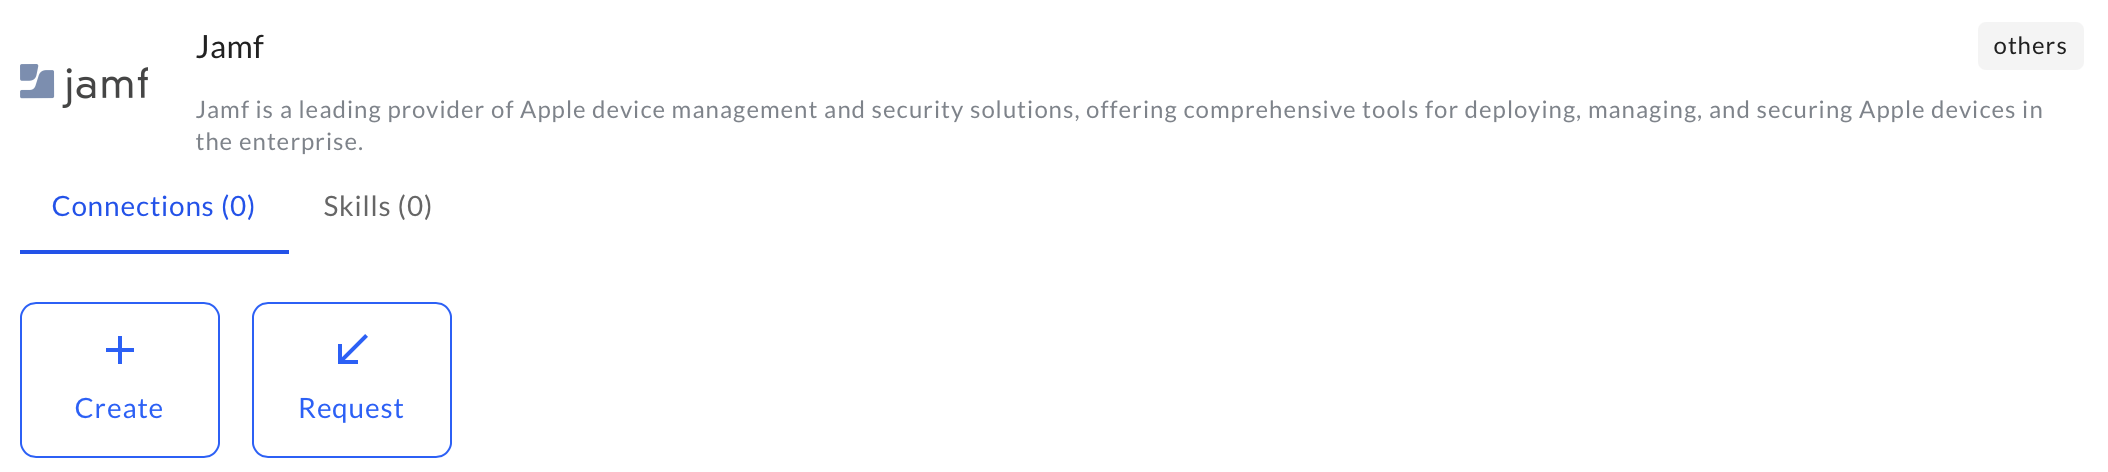
 3. Use the search option, enter the keyword "**Jamf**", select the **Connections** tab, and click **Create**.
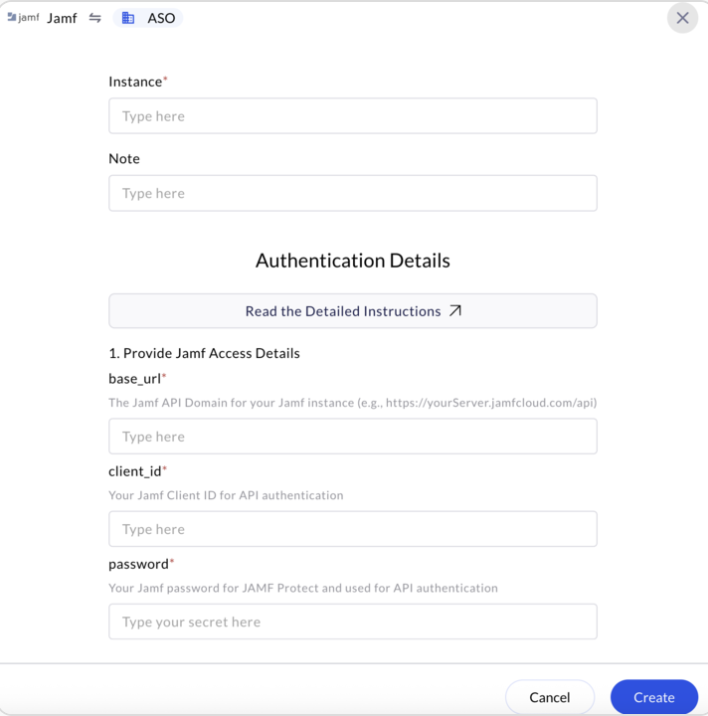
 4. Enter an unique name to the Instance (e.g., `your org name-Jamf Protect`) to easily identify the user connection by AirMDR.
5. Enter the generated **Base URL**, **Client ID** and **Client Secret** in the Authentication Details field params, and click **Create.**
4. Enter an unique name to the Instance (e.g., `your org name-Jamf Protect`) to easily identify the user connection by AirMDR.
5. Enter the generated **Base URL**, **Client ID** and **Client Secret** in the Authentication Details field params, and click **Create.**