> ## Documentation Index
> Fetch the complete documentation index at: https://docs.airmdr.com/llms.txt
> Use this file to discover all available pages before exploring further.
# Jamf (Just Another Management Framework) Pro
> Jamf Pro is an enterprise-grade Apple device management solution that streamlines deployment, security, and management of Macs, iPads, iPhones, and Apple TVs—enabling seamless IT operations and a consistent user experience and is widely used by IT administrators in education, enterprise, and healthcare to deploy apps, enforce policies, and manage security on Apple devices.
### Generate Jamf Pro Client Password and Client ID for API Authentication
To integrate with **Jamf Pro** via its API (for example, in order to use it with third-party tools like AirMDR, or custom apps), you need to generate the **Base URL**, **Client ID**, and **Client Password** via the Jamf Pro UI.
1. Login to the Jamf Pro console with your credentials.
* URL: `https://.jamfcloud.com`
2. Provide the necessary credentials (**Email** and **Password**), and click **Sign In**.
Use an admin-level account with **privileges to manage API clients**.
1. Navigate to **Settings** (⚙️ icon in bottom left) in the sidebar.
2. Go to **System Settings** → **API Roles and Clients**.
* If this is missing, ensure your Jamf Pro version supports API client management.
1. Click on the **API Roles** tab at the top of the pane.
2. Click **New**.
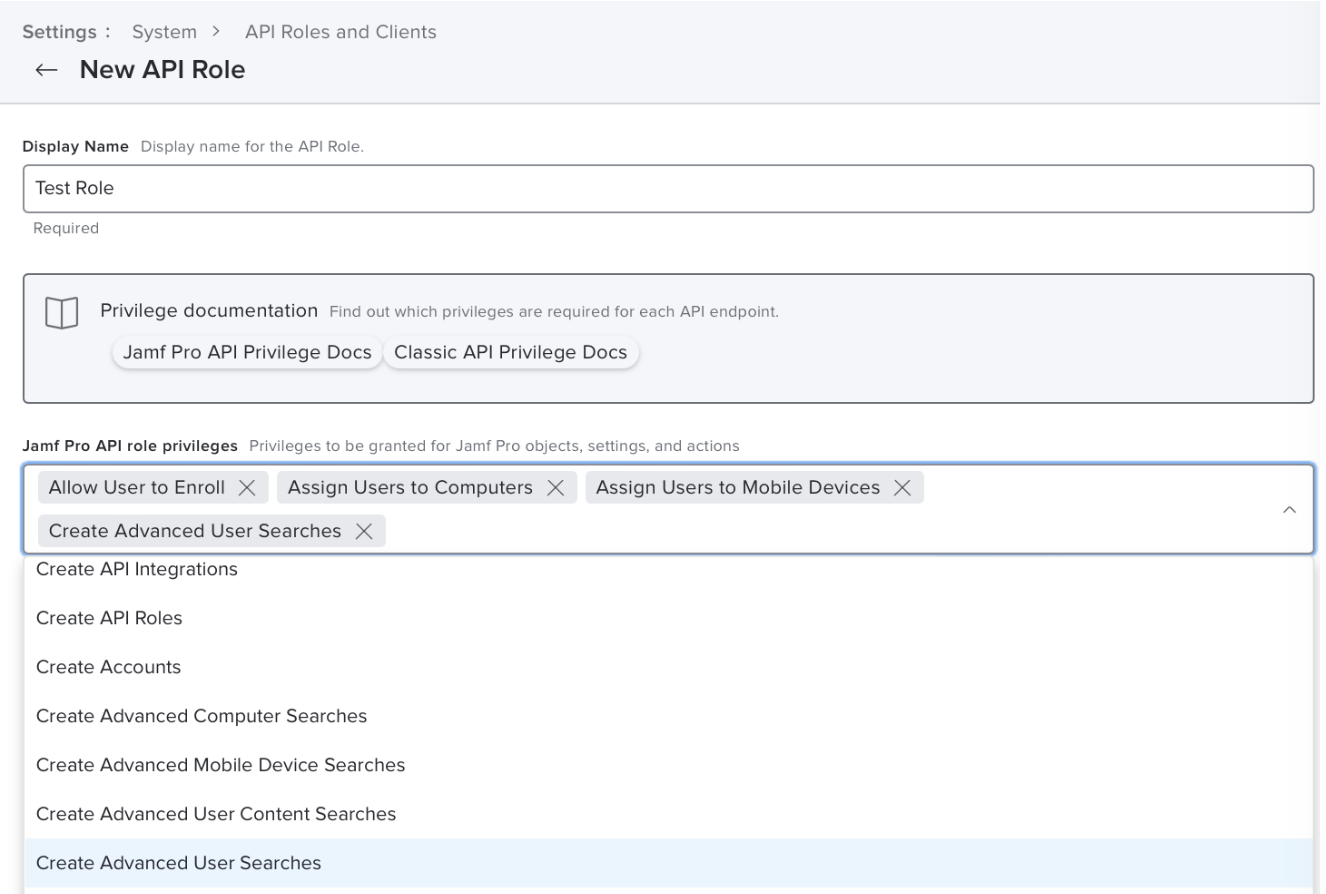
3. Enter a Display Name for the API role.
* **Display Name**: A name for your integration (e.g., `AirMDRIntegration`).
4. In the **Jamf Pro API role privileges** section, you will need to grant the necessary permissions depending on what data or actions the integration will require.
* Type the name of a privilege you want to assign, and then select it from the pop-up menu.
 5. Click **Save**.
If you are using Jamf Setup, Jamf Reset, Jamf Parent, or Jamf Teacher in your environment, you may notice there are API roles already created and in use by these applications. These roles can be reused safely with other API clients that require similar privileges, but Jamf does not recommend editing these roles, as it could interfere with the functionality of those apps. Jamf Pro will not allow any API roles to be deleted while in use.
1. Click on the **API Clients** tab at the top of the pane.
2. Click **New**.
3. Enter a **Display Name** for the API client (e.g., `AirMDRIntegration`).
4. In the **API Roles** field, click **Add** and select the API role(s) you created or that have the necessary privileges.
5. Under **Access Token Lifetime**, you can set the duration for which the access token will be valid. The default is often 3600 seconds (1 hour).
Changing the **Access Token Lifetime** value at a later time does not affect any access tokens previously generated from the API client. Similarly, deleting or disabling a client does not disallow access for previously generated access tokens that are still valid. Changes made to any API roles assigned to a client, however, will affect all access tokens immediately.
6. Ensure the **Enable API Client** checkbox is selected to allow the client to be used to generate a client secret.
7. Click **Save**.
8. After saving, you will be redirected back to the list of API Clients. The newly created client will be in the list.
9. Find the specific API client for which you need the Client ID. The **Display Name** you assigned to the client will help you identify it.
The **Client ID** will be displayed in a column labeled "Client ID".
This is the only time the **API Client Secret** will be displayed. \
Copy and securely store the value.
1. Locate the API client you just created in the list and click on its **Display Name**.
An API client created in Jamf Pro with at least one role assigned to it
2. Click the **Generate Client Secret** button, and a confirmation dialog appears.
3. Click **Create Secret**.
4. A pop-up window appears with the newly generated **API Client Secret.**
Use "**Copy to Clipboard**" option and securely save the API Client Password.
If you have lost the Client Secret, you will need to **rotate** it to generate a new one.
You can rotate a client secret to generate a new secret for an API client. This invalidates the previous secret, which can then no longer be used to generate access tokens.
Adding or removing privileges from an API role does not require regeneration of a client secret. Adding or removing an API role from an API client does require the generation of a new client secret for the changes to take effect.
1. In Jamf Pro, navigate to **Settings** (⚙️ icon in bottom left) in the sidebar.
2. Go to **System Settings** → \*\*API Roles and Clients \*\*→ \*\*API Clients \*\*tab.
3. Find the specific API client in the list for which you want to generate a new client secret. The **Display Name** you assigned to the client will help you identify it.
4. Click **Rotate Client Secret**, and a confirmation dialog appears.
5. Click **Rotate Secret**.
The previous client secret is invalidated and can no longer be used to generate an access token. A new client secret is created.
You can disable an API client that you no longer want to use to generate access tokens for Jamf Pro.
Deleting or disabling a client does not disable access for previously generated access tokens that are still valid.
1. In Jamf Pro, In Jamf Pro, navigate to **Settings** (⚙️ icon in bottom left) in the sidebar.
2. Go to **System Settings** → \*\*API Roles and Clients \*\*→ \*\*API Clients \*\*tab.
3. Find the specific API client in the list which you want to disable. The **Display Name** you assigned to the client will help you identify it.
4. Click **Disable API Client**.
The client can no longer be used to generate access tokens for Jamf Pro.
> The **Base URL** is simply your Jamf Pro URL: \
> Example: [https://yourcompany.jamfcloud.com](https://yourcompany.jamfcloud.com)
Email the **Base URL**, **Client ID** and **Client Secret** to AirMDR \
or \
Self configure Jamf Pro in the AirMDR Integrations Dashboard.
### Skills Provided by this Integration
| Skill ID | Purpose |
| :----------------------- | :--------------------------------------------------------------------------------------------------------------------------------------- |
| **Get Jamf Pro Devices** | Fetch detailed device information from Jamf Pro including IP address, hostname, username, device type, operating system, and OS version. |
To view the details of Input Parameters and Output for the respective skills
* Go to [AirMDR → Jamf Pro](https://app.airmdr.com/integrations?search=Jamf+Pro) Integration page.
* Select the **Skills** tab and click on the required listed skills.
### Jamf Pro API Testing
Open **cURL** and run the following command to check if your API Key is working:
Request
```
curl -X POST "https://yourcompany.jamfcloud.com/api/oauth/token" \
-H "Content-Type: application/x-www-form-urlencoded" \
-u "CLIENT_ID:CLIENT_SECRET" \
-d "grant_type=client_credentials"
```
Response
```
{
"access_token": ,
"expires_in": 1800,
"token_type": "Bearer"
}
```
Copy the `access_token` from the response, and Use the Access Token to Call the API.
```
curl -X GET "https://yourcompany.jamfcloud.com/api/v1/computers-inventory" \
-H "Authorization: Bearer ACCESS_TOKEN" \
-H "Accept: application/json"
```
## ✅ Notes
* Base URL typically ends with `/api`, e.g., `https://yourcompany.jamfcloud.com/api`
* Use `/api/v1` or `/api/v2` endpoints depending on the Jamf version and feature.
* You can test other endpoints like:
* `/api/v1/mobile-devices`
* `/api/v1/users`
* `/api/v1/departments`
### Configure Jamf Pro in the AirMDR Integrations Dashboard
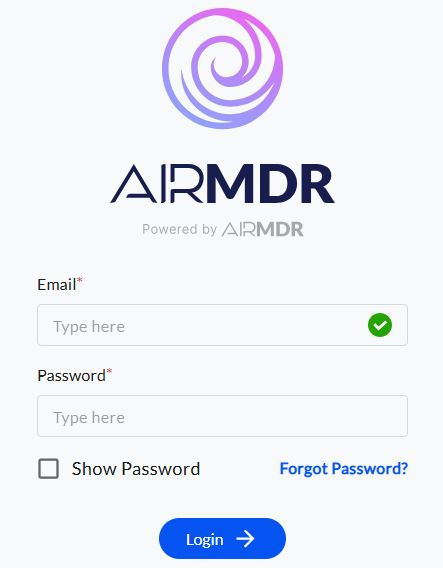
1. Navigate to [AirMDR](https://app.airmdr.com/auth/login), provide the credentials, and click **Login**
5. Click **Save**.
If you are using Jamf Setup, Jamf Reset, Jamf Parent, or Jamf Teacher in your environment, you may notice there are API roles already created and in use by these applications. These roles can be reused safely with other API clients that require similar privileges, but Jamf does not recommend editing these roles, as it could interfere with the functionality of those apps. Jamf Pro will not allow any API roles to be deleted while in use.
1. Click on the **API Clients** tab at the top of the pane.
2. Click **New**.
3. Enter a **Display Name** for the API client (e.g., `AirMDRIntegration`).
4. In the **API Roles** field, click **Add** and select the API role(s) you created or that have the necessary privileges.
5. Under **Access Token Lifetime**, you can set the duration for which the access token will be valid. The default is often 3600 seconds (1 hour).
Changing the **Access Token Lifetime** value at a later time does not affect any access tokens previously generated from the API client. Similarly, deleting or disabling a client does not disallow access for previously generated access tokens that are still valid. Changes made to any API roles assigned to a client, however, will affect all access tokens immediately.
6. Ensure the **Enable API Client** checkbox is selected to allow the client to be used to generate a client secret.
7. Click **Save**.
8. After saving, you will be redirected back to the list of API Clients. The newly created client will be in the list.
9. Find the specific API client for which you need the Client ID. The **Display Name** you assigned to the client will help you identify it.
The **Client ID** will be displayed in a column labeled "Client ID".
This is the only time the **API Client Secret** will be displayed. \
Copy and securely store the value.
1. Locate the API client you just created in the list and click on its **Display Name**.
An API client created in Jamf Pro with at least one role assigned to it
2. Click the **Generate Client Secret** button, and a confirmation dialog appears.
3. Click **Create Secret**.
4. A pop-up window appears with the newly generated **API Client Secret.**
Use "**Copy to Clipboard**" option and securely save the API Client Password.
If you have lost the Client Secret, you will need to **rotate** it to generate a new one.
You can rotate a client secret to generate a new secret for an API client. This invalidates the previous secret, which can then no longer be used to generate access tokens.
Adding or removing privileges from an API role does not require regeneration of a client secret. Adding or removing an API role from an API client does require the generation of a new client secret for the changes to take effect.
1. In Jamf Pro, navigate to **Settings** (⚙️ icon in bottom left) in the sidebar.
2. Go to **System Settings** → \*\*API Roles and Clients \*\*→ \*\*API Clients \*\*tab.
3. Find the specific API client in the list for which you want to generate a new client secret. The **Display Name** you assigned to the client will help you identify it.
4. Click **Rotate Client Secret**, and a confirmation dialog appears.
5. Click **Rotate Secret**.
The previous client secret is invalidated and can no longer be used to generate an access token. A new client secret is created.
You can disable an API client that you no longer want to use to generate access tokens for Jamf Pro.
Deleting or disabling a client does not disable access for previously generated access tokens that are still valid.
1. In Jamf Pro, In Jamf Pro, navigate to **Settings** (⚙️ icon in bottom left) in the sidebar.
2. Go to **System Settings** → \*\*API Roles and Clients \*\*→ \*\*API Clients \*\*tab.
3. Find the specific API client in the list which you want to disable. The **Display Name** you assigned to the client will help you identify it.
4. Click **Disable API Client**.
The client can no longer be used to generate access tokens for Jamf Pro.
> The **Base URL** is simply your Jamf Pro URL: \
> Example: [https://yourcompany.jamfcloud.com](https://yourcompany.jamfcloud.com)
Email the **Base URL**, **Client ID** and **Client Secret** to AirMDR \
or \
Self configure Jamf Pro in the AirMDR Integrations Dashboard.
### Skills Provided by this Integration
| Skill ID | Purpose |
| :----------------------- | :--------------------------------------------------------------------------------------------------------------------------------------- |
| **Get Jamf Pro Devices** | Fetch detailed device information from Jamf Pro including IP address, hostname, username, device type, operating system, and OS version. |
To view the details of Input Parameters and Output for the respective skills
* Go to [AirMDR → Jamf Pro](https://app.airmdr.com/integrations?search=Jamf+Pro) Integration page.
* Select the **Skills** tab and click on the required listed skills.
### Jamf Pro API Testing
Open **cURL** and run the following command to check if your API Key is working:
Request
```
curl -X POST "https://yourcompany.jamfcloud.com/api/oauth/token" \
-H "Content-Type: application/x-www-form-urlencoded" \
-u "CLIENT_ID:CLIENT_SECRET" \
-d "grant_type=client_credentials"
```
Response
```
{
"access_token": ,
"expires_in": 1800,
"token_type": "Bearer"
}
```
Copy the `access_token` from the response, and Use the Access Token to Call the API.
```
curl -X GET "https://yourcompany.jamfcloud.com/api/v1/computers-inventory" \
-H "Authorization: Bearer ACCESS_TOKEN" \
-H "Accept: application/json"
```
## ✅ Notes
* Base URL typically ends with `/api`, e.g., `https://yourcompany.jamfcloud.com/api`
* Use `/api/v1` or `/api/v2` endpoints depending on the Jamf version and feature.
* You can test other endpoints like:
* `/api/v1/mobile-devices`
* `/api/v1/users`
* `/api/v1/departments`
### Configure Jamf Pro in the AirMDR Integrations Dashboard
1. Navigate to [AirMDR](https://app.airmdr.com/auth/login), provide the credentials, and click **Login**
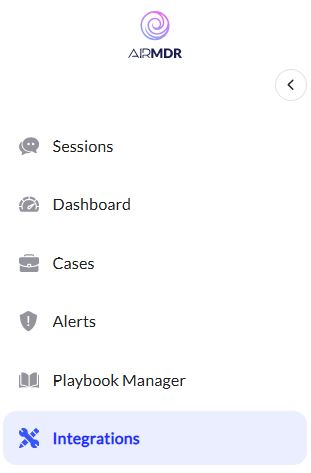
 2. Navigate to the AirMDR Integrations Dashboard in the left navigation pane and select **Integrations**
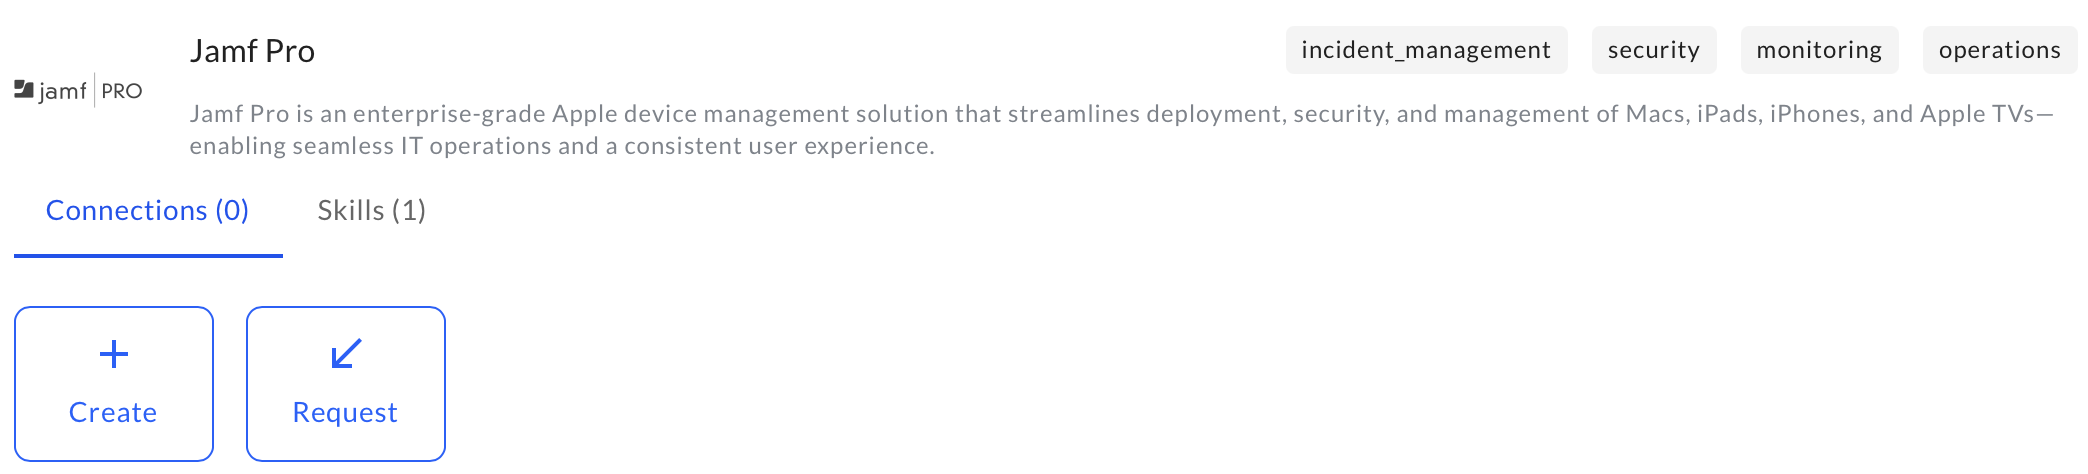
 3. Use the search option, enter the keyword "**Jamf Pro**", select the **Connections** tab, and click **Create**.
 4. Enter an unique name to the Instance (e.g., `your org name-Jamf Pro`) to easily identify the user connection by AirMDR.
5. Enter the generated **Base URL**, **Client ID** and **Client Secret** in the Authentication Details field params, and click **Create.**
4. Enter an unique name to the Instance (e.g., `your org name-Jamf Pro`) to easily identify the user connection by AirMDR.
5. Enter the generated **Base URL**, **Client ID** and **Client Secret** in the Authentication Details field params, and click **Create.**