> ## Documentation Index
> Fetch the complete documentation index at: https://docs.airmdr.com/llms.txt
> Use this file to discover all available pages before exploring further.
# JIRA
> JIRA is a popular project management and issue-tracking tool developed by Atlassian. It is mainly used for bug tracking, agile project management, and workflow automation.
To integrate JIRA with AirMDR, you need:
1. **Instance URL** – The unique URL of your JIRA instance.
2. **Email Token (API Token)** – Used for authentication in API requests.
### Generate JIRA Email Token (API Token)
JIRA API tokens allow users to authenticate API requests securely without using passwords. Here’s how to **create, manage, and revoke** API tokens in JIRA.
1. Go to the Atlassian API Token Page.
2. Log in with your **JIRA (Atlassian) credentials**.
1. Scroll to the **API token** section.
2. Click **"Create API token"**.
3. Enter a meaningful label (e.g., "Integration with XYZ").
4. Click **"Create"** and then **copy the token**.
This token is displayed only **once**. Store it securely.
### Access Instance URL
1. Go to the Atlassian API Token Page.
2. Log in with your **JIRA (Atlassian) credentials**.
3. Click on your profile picture (top-right corner) → **"Profile"**.
4. Your instance URL is displayed in the browser’s address bar.
### Manage & Revoke API Tokens
1. Go to the Atlassian API Token Page.
2. Log in with your **JIRA (Atlassian) credentials**.
1. Scroll to the **API Tokens** section.
2. You will see a list of all active API tokens.
3. Click **“Revoke”** next to the token you want to delete.
4. Confirm the action when prompted.
### Configure JIRA API Token in the AirMDR Integrations Dashboard
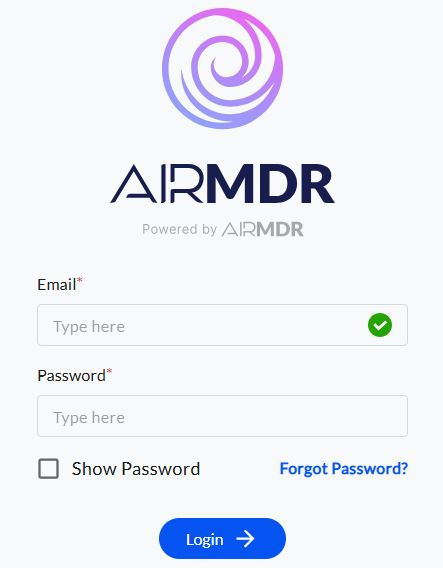
1. Navigate to [AirMDR](https://app.airmdr.com/auth/login), provide the credentials, and click **Login.**
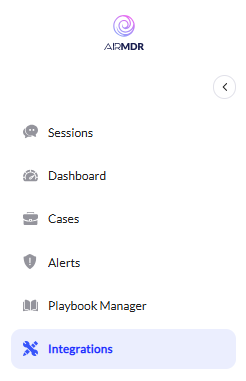
 2. Navigate to the AirMDR Integrations Dashboard in the left navigation pane and select **Integrations.**\\
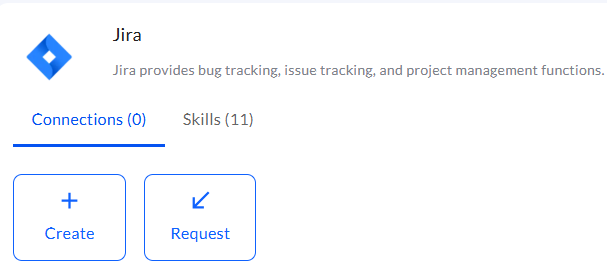
 3. Use the search option, enter the keyword "**JIRA**", select the **Connections** tab, and click the **+ Create** icon.\\
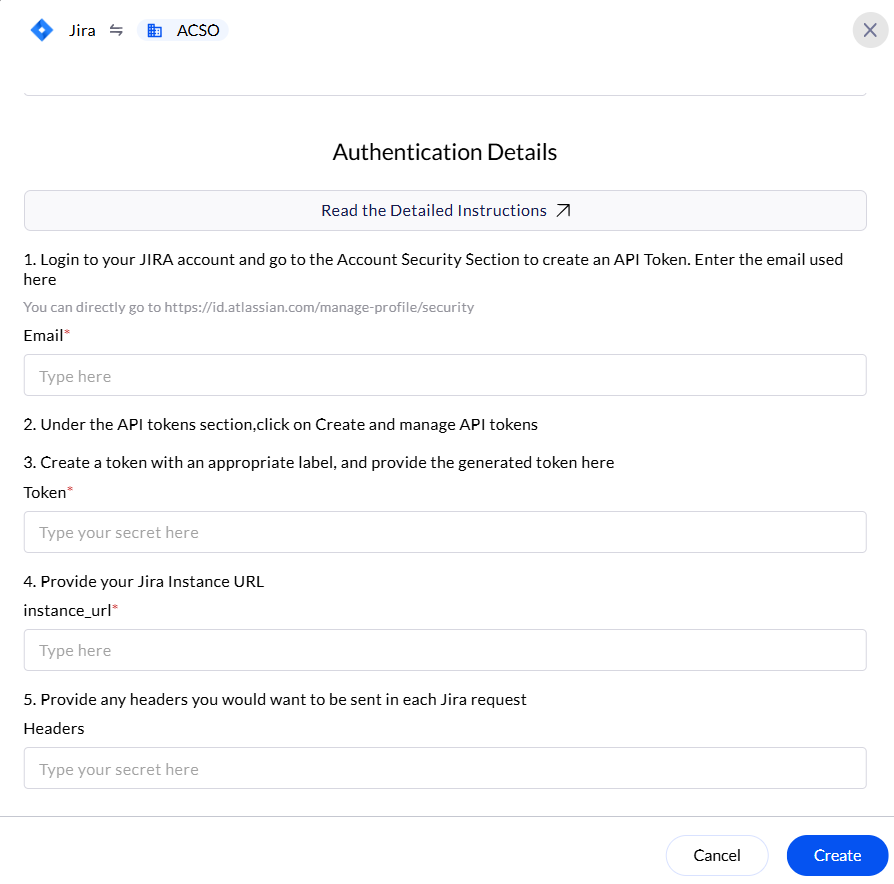
 4. Enter the email used to login to the JIRA account and the generated **Token,** **instance\_url** in the Authentication Details field params, and click **Create.**\\