> ## Documentation Index
> Fetch the complete documentation index at: https://docs.airmdr.com/llms.txt
> Use this file to discover all available pages before exploring further.
# Okta
> Okta is an integrated identity and mobility management service.
Okta securely connects people to their applications from any device, anywhere, anytime. Okta integrates with existing directories, identity systems, and thousands of on-premises, cloud, and mobile applications. It runs on a secure, reliable, and extensively audited cloud-based platform.
## Create Okta API Token
* Login into the [Okta Admin Console](https://your-okta-domain.okta.com).
* Enter your admin username and password, then click **Sign In**.
 The user must have access to create an Okta API token.
The list of RBACs (Role-Based Access Control) to create Okta API tokens are as follows:
* Super Admins
* Org Admins
* Group Admins
* Group Membership Admins
* Read Only Admins
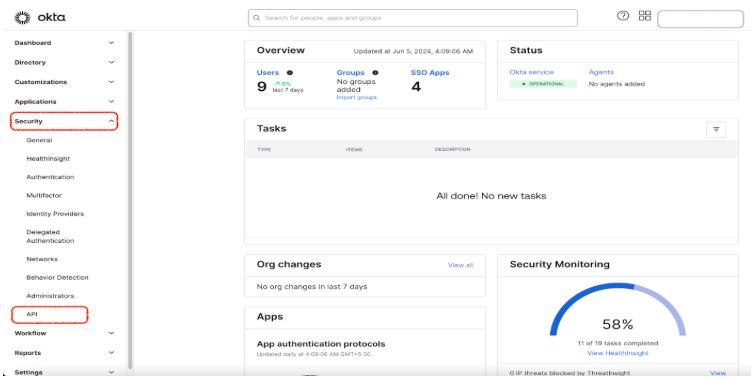
* In the Okta Admin Console, click on **Security** in the top navigation bar.
* From the dropdown, select **API**.
* Under the **API** section, click on the **Tokens** tab.
* Click the **Create Token** button.
The user must have access to create an Okta API token.
The list of RBACs (Role-Based Access Control) to create Okta API tokens are as follows:
* Super Admins
* Org Admins
* Group Admins
* Group Membership Admins
* Read Only Admins
* In the Okta Admin Console, click on **Security** in the top navigation bar.
* From the dropdown, select **API**.
* Under the **API** section, click on the **Tokens** tab.
* Click the **Create Token** button.
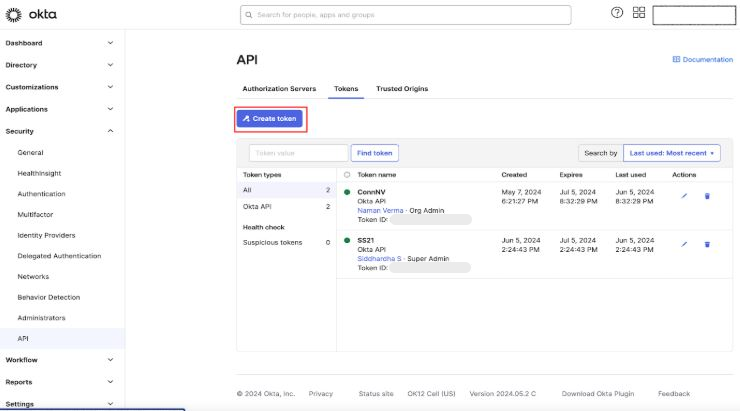 * In the **Create Token** dialog box, enter a **Token Name** (e.g., "Companyname Okta API Token").
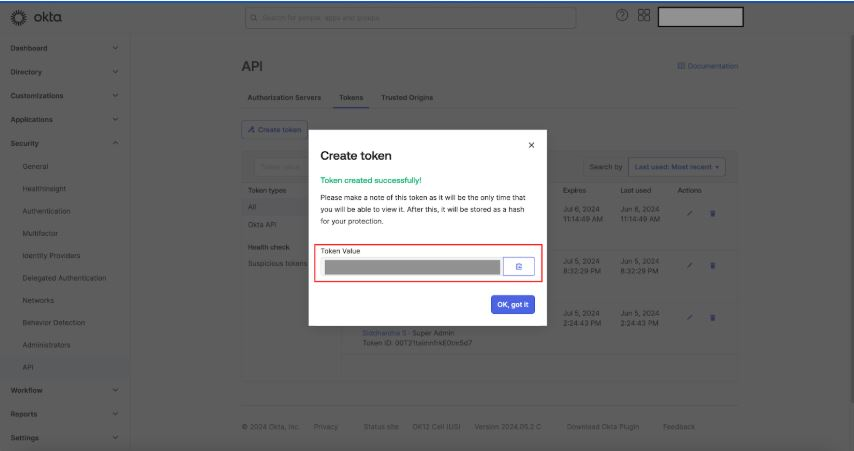 * Click **Create Token** to generate the new token.
After creation, Okta will display the new API token.
This is the only time the token will be visible, so copy and store it securely (e.g., in a password manager).
* Click **Done** to finish the process.
Now that you have your API token, you can use it to authenticate API requests.
Email the API token and the Okta Base URL to AirMDR.
## Optional: Revoke an API Token
If you need to revoke the token at any time:
* Go back to the **API Tokens** page in the Okta Admin Console.
* Find the token you want to revoke and click on the **Revoke** button next to it.
### Configure Okta in the AirMDR Integrations Dashboard
1. Navigate to [AirMDR](https://app.airmdr.com/auth/login), provide the credentials, and click **Login**
2. Navigate to the AirMDR Integrations Dashboard in the left navigation pane and select **Integrations.**
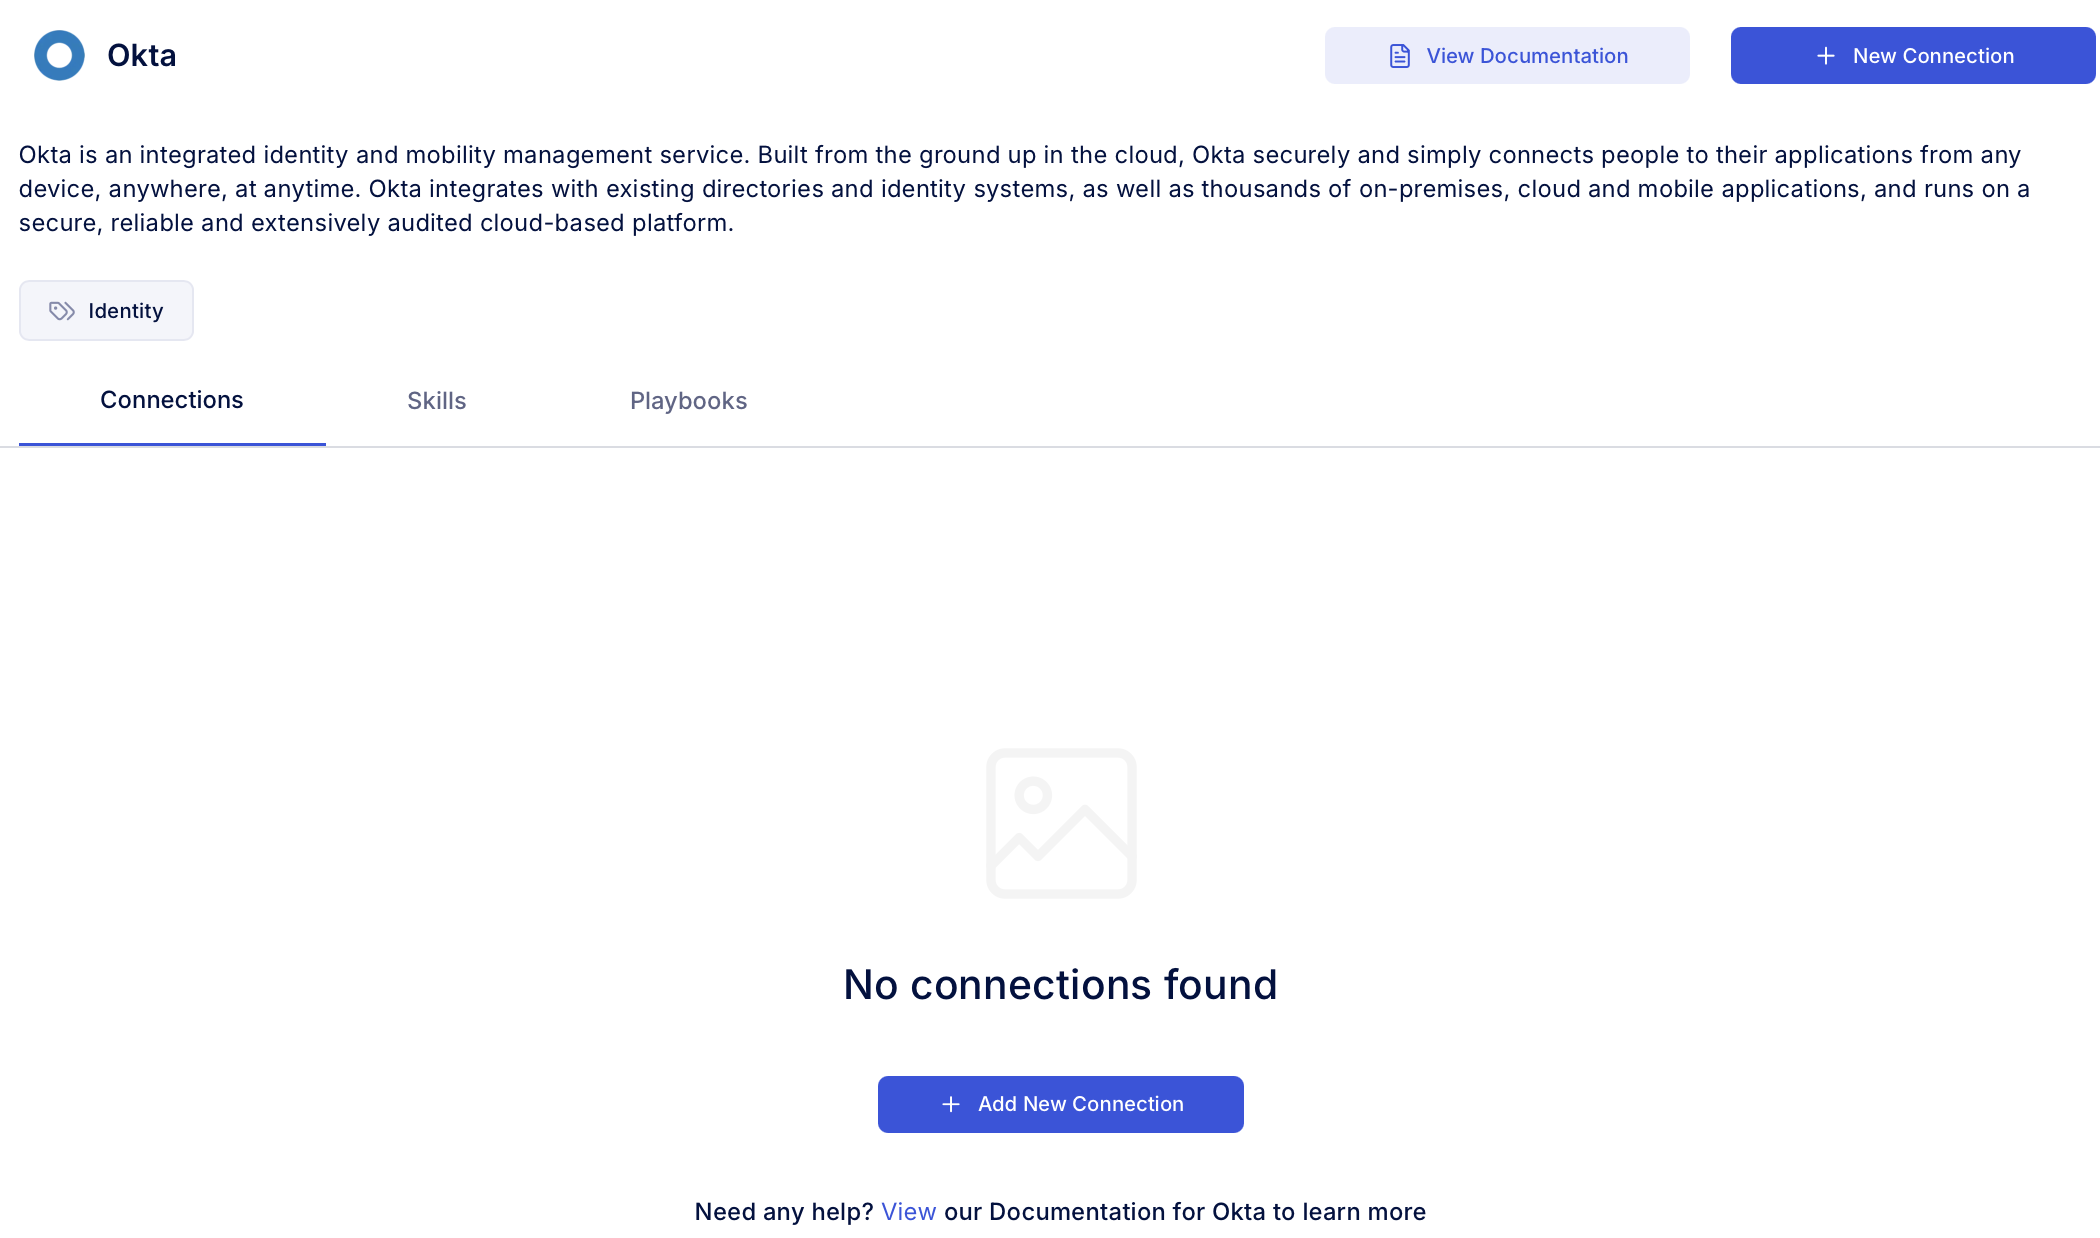
3. Use the search option, enter the keyword "**Okta**", select the **Connections** tab, and click **Add New Connection**.
* Click **Create Token** to generate the new token.
After creation, Okta will display the new API token.
This is the only time the token will be visible, so copy and store it securely (e.g., in a password manager).
* Click **Done** to finish the process.
Now that you have your API token, you can use it to authenticate API requests.
Email the API token and the Okta Base URL to AirMDR.
## Optional: Revoke an API Token
If you need to revoke the token at any time:
* Go back to the **API Tokens** page in the Okta Admin Console.
* Find the token you want to revoke and click on the **Revoke** button next to it.
### Configure Okta in the AirMDR Integrations Dashboard
1. Navigate to [AirMDR](https://app.airmdr.com/auth/login), provide the credentials, and click **Login**
2. Navigate to the AirMDR Integrations Dashboard in the left navigation pane and select **Integrations.**
3. Use the search option, enter the keyword "**Okta**", select the **Connections** tab, and click **Add New Connection**.
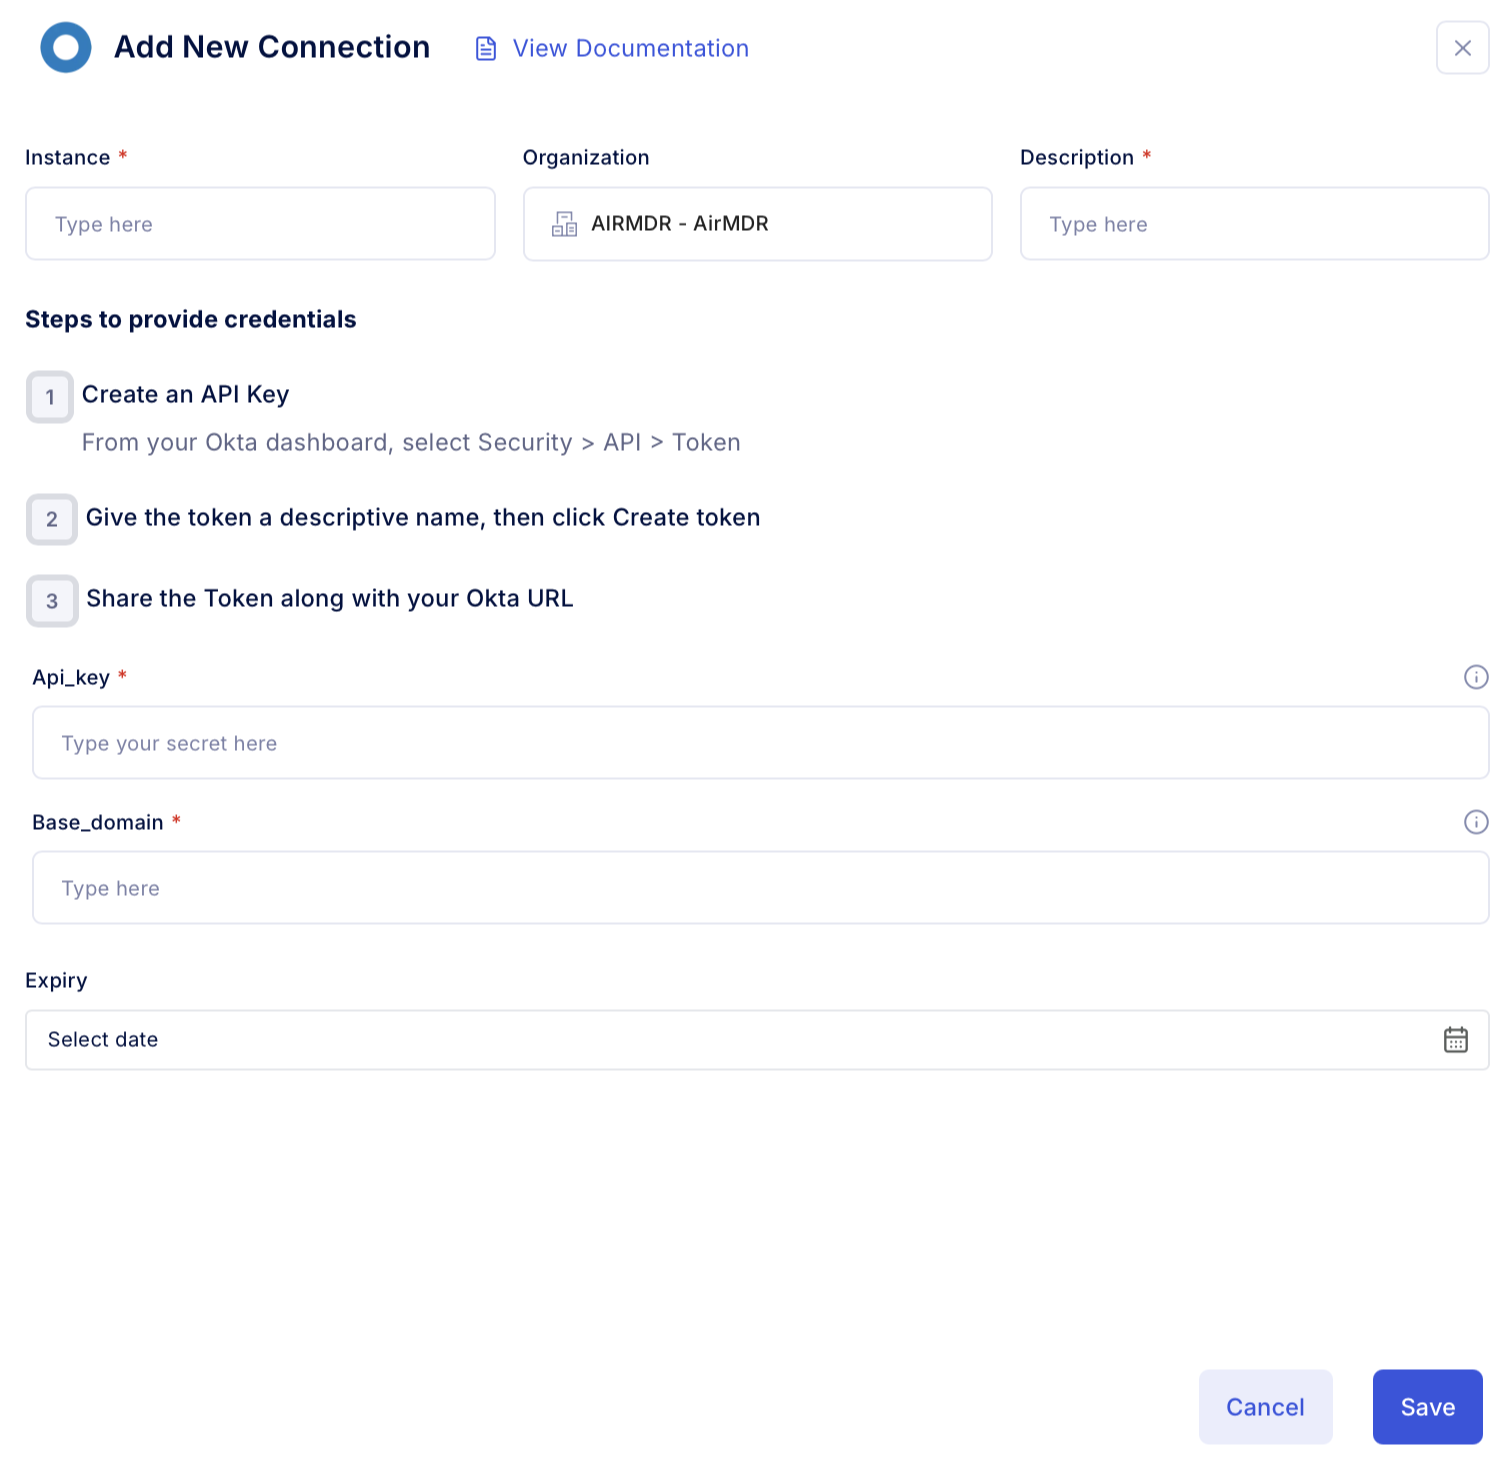
 4. Enter an unique name to the Instance (e.g., `your org name-Okta`) to easily identify the user connection by AirMDR and brief Description to showcase the purpose.
5. Enter the generated **API Key** and **Base Domain** in the Authentication Details field params, and click **Save.**
4. Enter an unique name to the Instance (e.g., `your org name-Okta`) to easily identify the user connection by AirMDR and brief Description to showcase the purpose.
5. Enter the generated **API Key** and **Base Domain** in the Authentication Details field params, and click **Save.**