> ## Documentation Index
> Fetch the complete documentation index at: https://docs.airmdr.com/llms.txt
> Use this file to discover all available pages before exploring further.
# QRadar
> IBM QRadar is a Security Information and Event Management (SIEM) solution that helps organizations detect, investigate, and respond to security threats. It collects and analyzes log data from various sources (network devices, servers, applications, etc.) to identify potential security incidents.
### Generate SEC Token via QRadar UI
1. Login to the **QRadar** as an administrator.
2. Provide the necessary credentials (**Email** and **Password**), and click **Sign In**.
1. Go to **Admin tab** in the top menu.
2. Select the **User Management → Authorized Services**.
3. Click **Add Authorized Service**.
4. Fill in the required details:
* **Service Name**: (e.g., `API_Access`)
* **User Role**: Select the role with the necessary permissions.
* **Expiry Date**: Set a validity period for the token.
* **API Access**: Choose the appropriate access level.
5. Click **Create** to generate the SEC token.
6. Copy and save the token securely, as it will not be shown again.
This is the only time the **Auth SEC Token** will be displayed. \
Copy and securely store values before clicking **Done**.
Administrators can only manage access keys for the organization by navigating to **Administration** → **Security** → **Access Keys** in the main menu.
Email the **Auth SEC Token** to AirMDR or self Configure IBM QRadar in the AirMDR Integrations Dashboard.
### Access Deployment URL in IBM QRadar UI
1. Login to the **QRadar** as an administrator.
2. Provide the necessary credentials (**Email** and **Password**), and click **Sign In**.
3. Go to **Admin tab** in the top menu.
4. Under **System and License Management**, you can check settings like **Host** or **Network Settings**.
5. Typically, it would be something like `https:///console`, where `` is the IP address or the hostname of your QRadar system.
The base **deployment URL** in QRadar is generally the IP address or domain of your QRadar system followed by `/api/`for the API endpoints.QRadar API Testing\
\
For example: https\://\/api/\
\
Replace `` with the actual IP address or the hostname of your QRadar system.
So if your QRadar instance is hosted at `192.168.1.100`, the deployment URL would be: [https://192.168.1.100/api](https://192.168.1.100/api)
Ensure that the URL starts with `https://` for secure connections
Securely share the **URL** to AirMDR or self Configure in the AirMDR Integrations Dashboard.
Open **cURL** and run the following command to check if your API Key is working:
```
curl --location '{auth_url}/api/siem/offenses' \
--header 'SEC: {token}' \
--header 'Range: items=0-0'
```
### Configure IBM QRadar in the AirMDR Integrations Dashboard
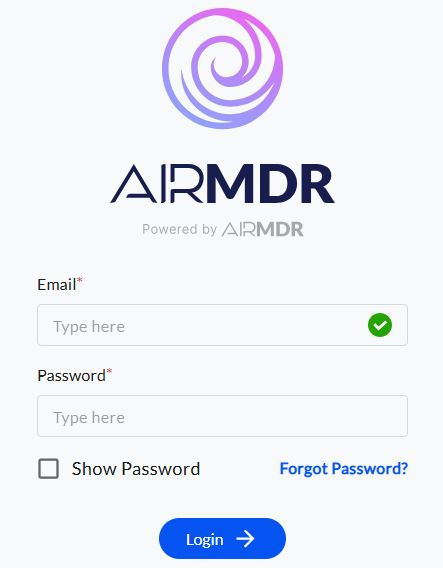
1. Navigate to [AirMDR](https://app.airmdr.com/auth/login), provide the credentials, and click **Login**
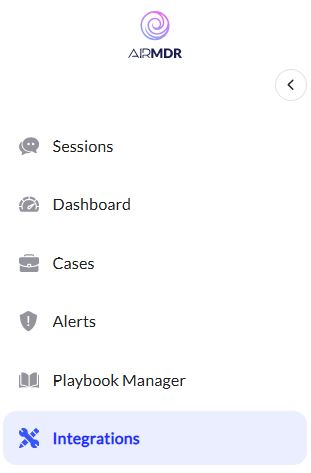
 2. Navigate to the AirMDR Integrations Dashboard in the left navigation pane and select **Integrations**
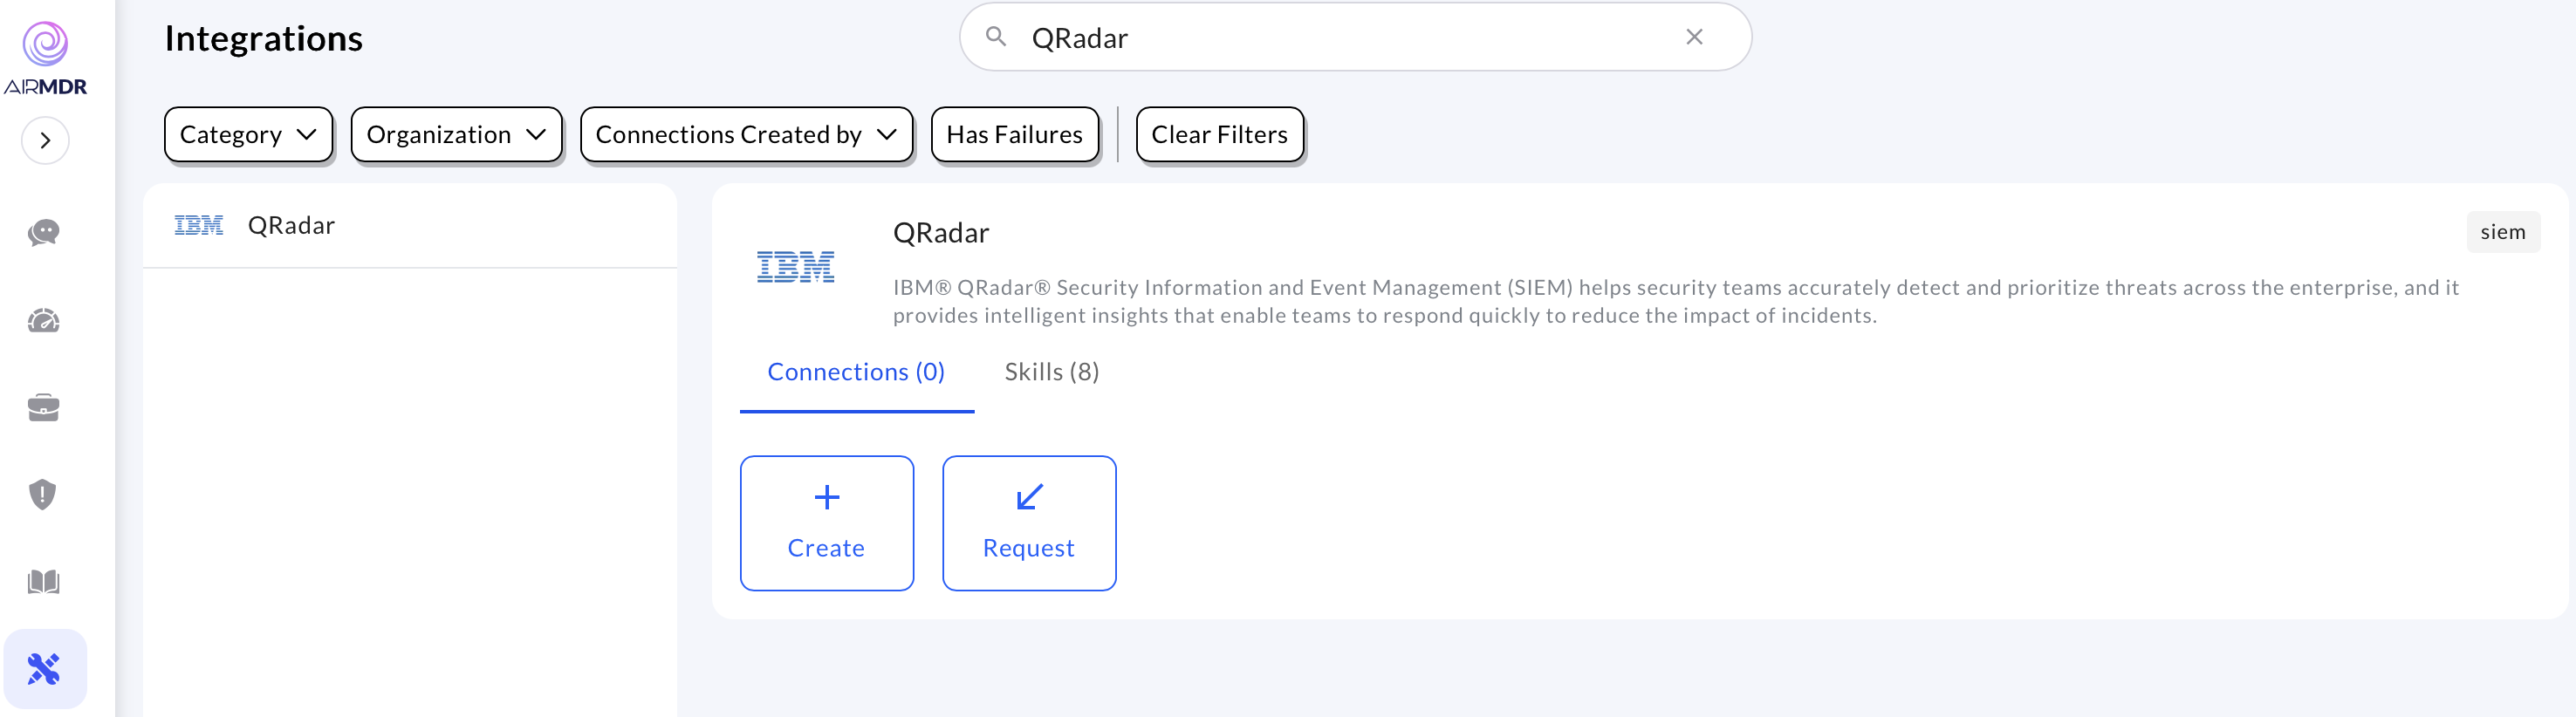
 3. Use the search option, enter the keyword "**QRadar**", select the **Connections** tab, and click **Create**.\\
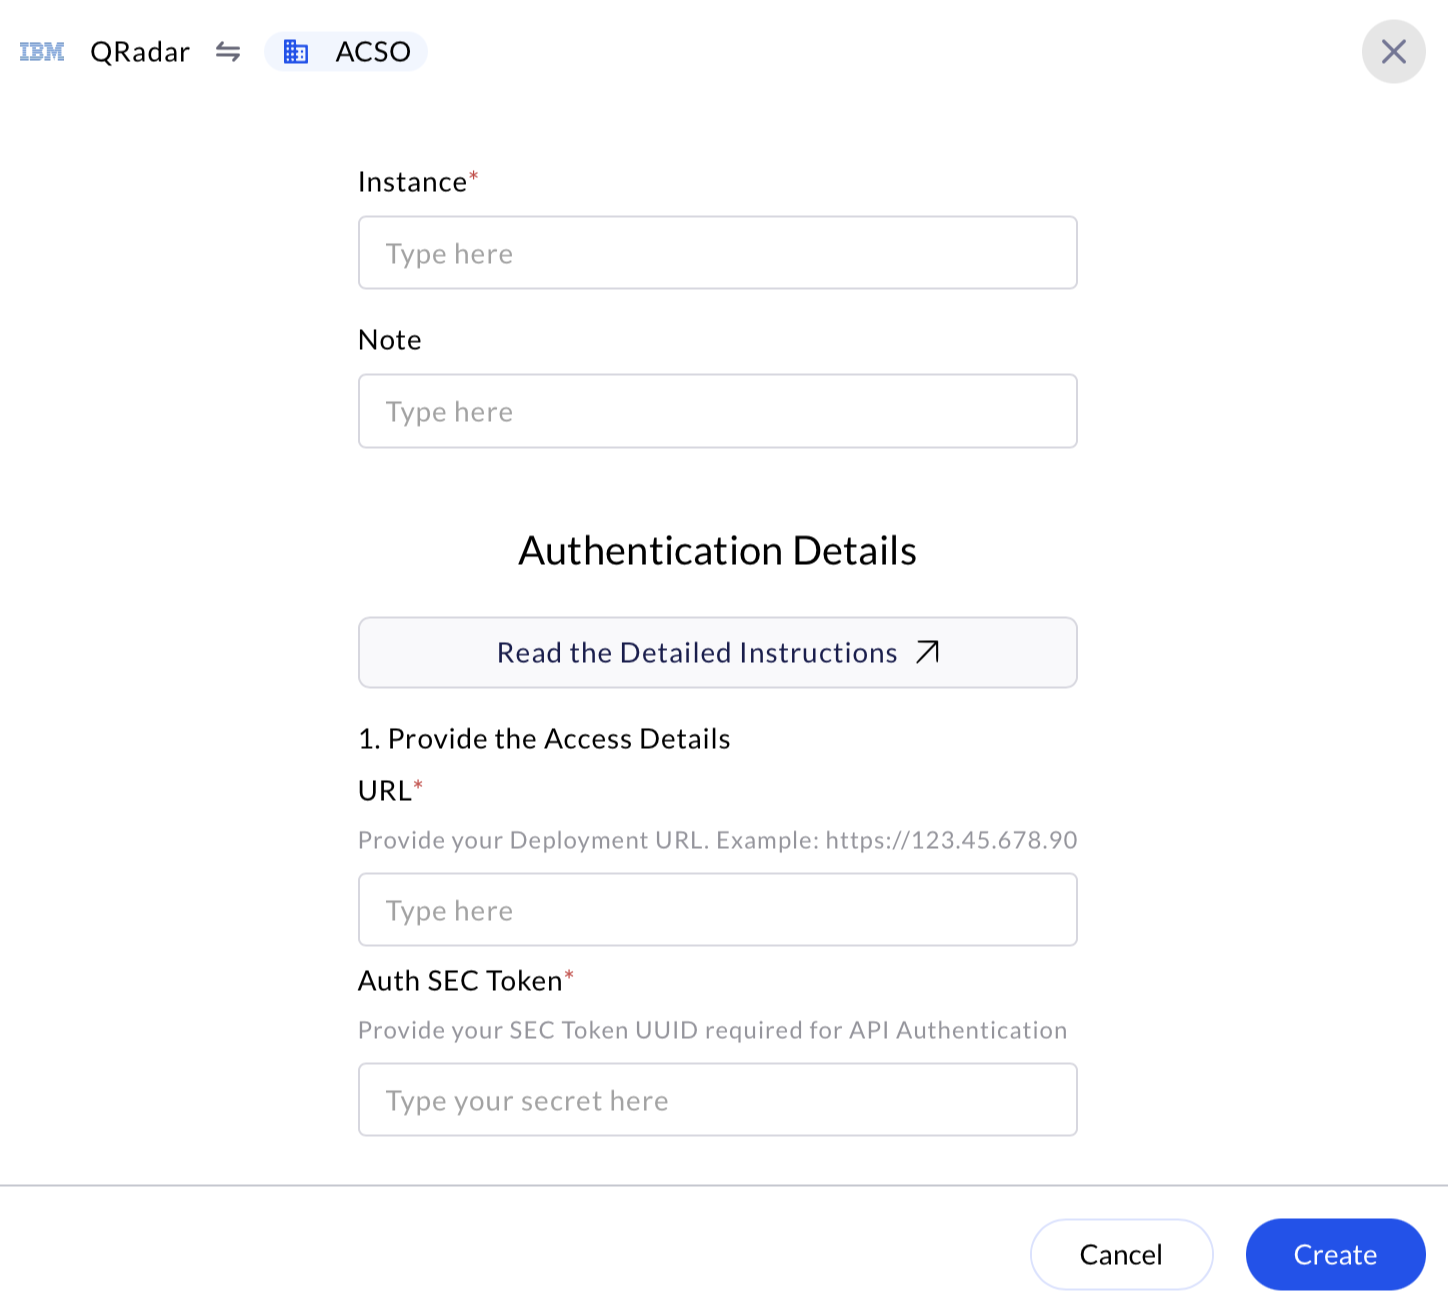
 4. Enter the generated **Auth SEC Token** and **Deployment URL** in the Authentication Details field params and click **Create.**\\