Overview
Okta Single Sign-On (SSO) can authenticate access to various applications by integrating it with your application. Here’s a step-by-step guide to setting up Okta SSO authentication. AirMDR supports the Okta single sign-on (SSO) method for authenticating users and granting them access to the user interface.Pre-requisites
- Login into the Okta Admin Console.
- Enter your admin username and password, then click Sign In.
-
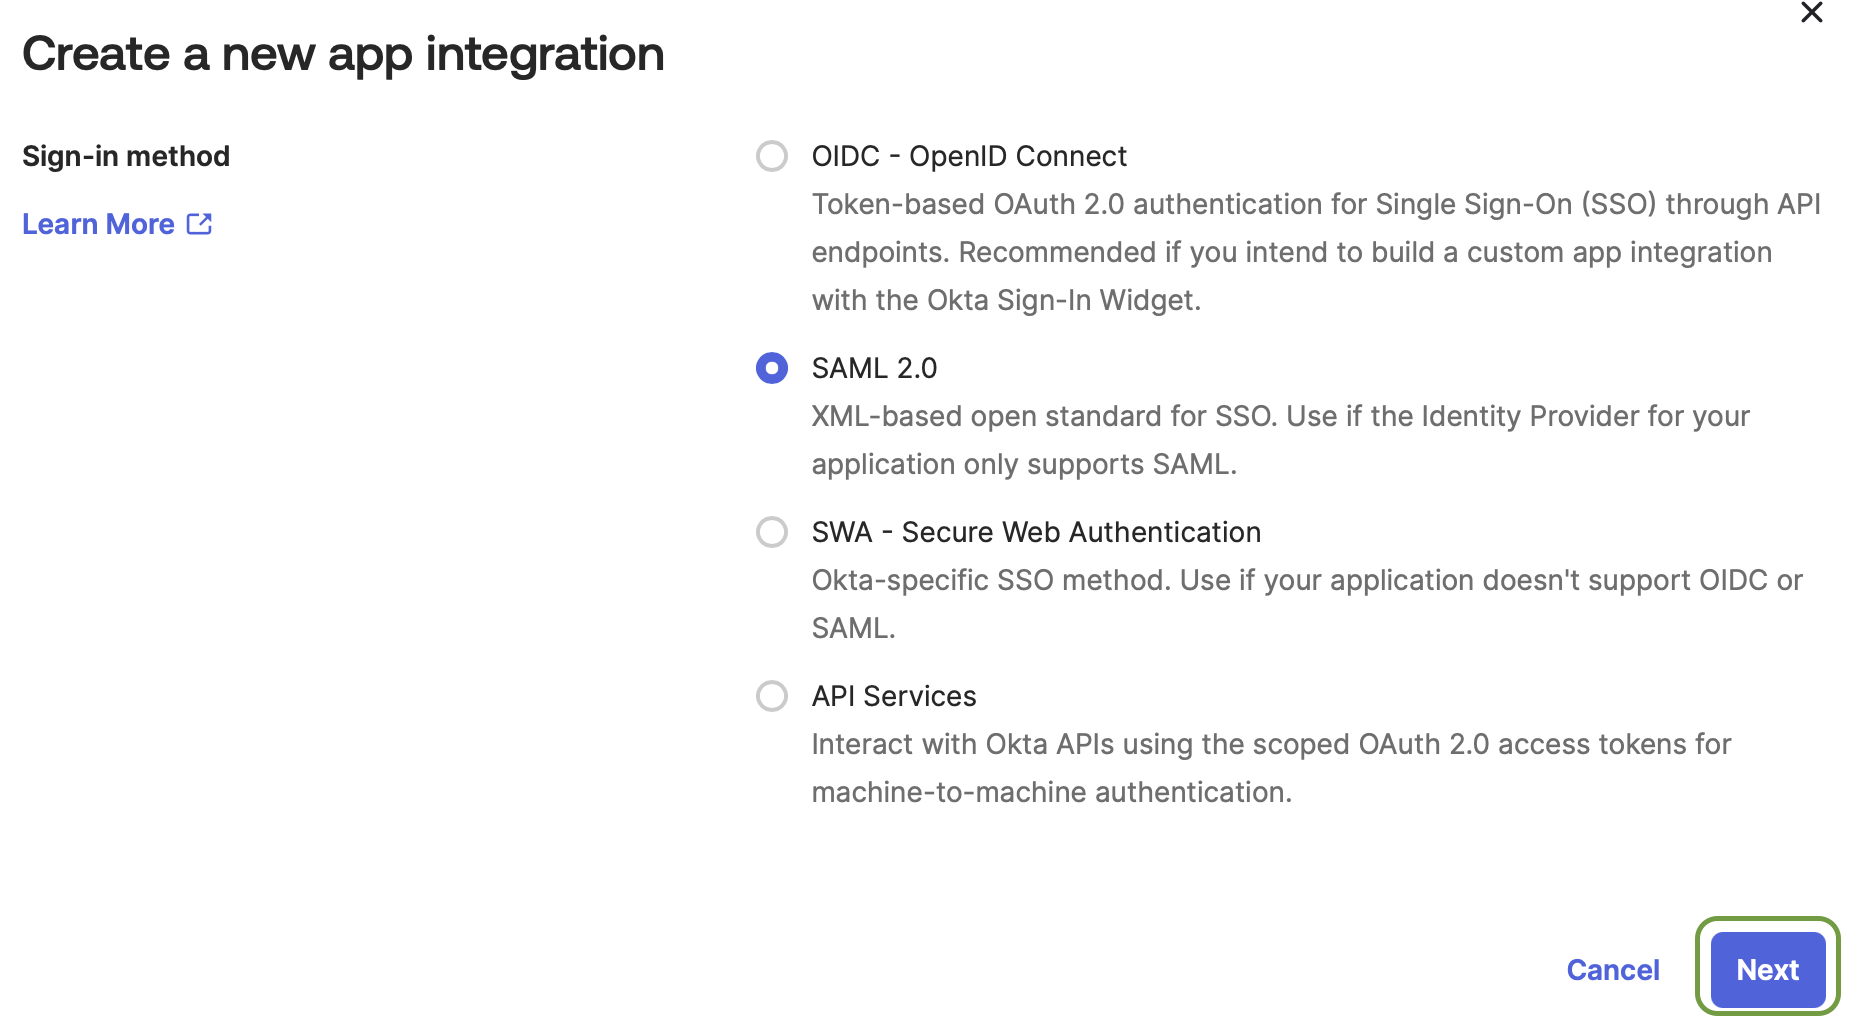
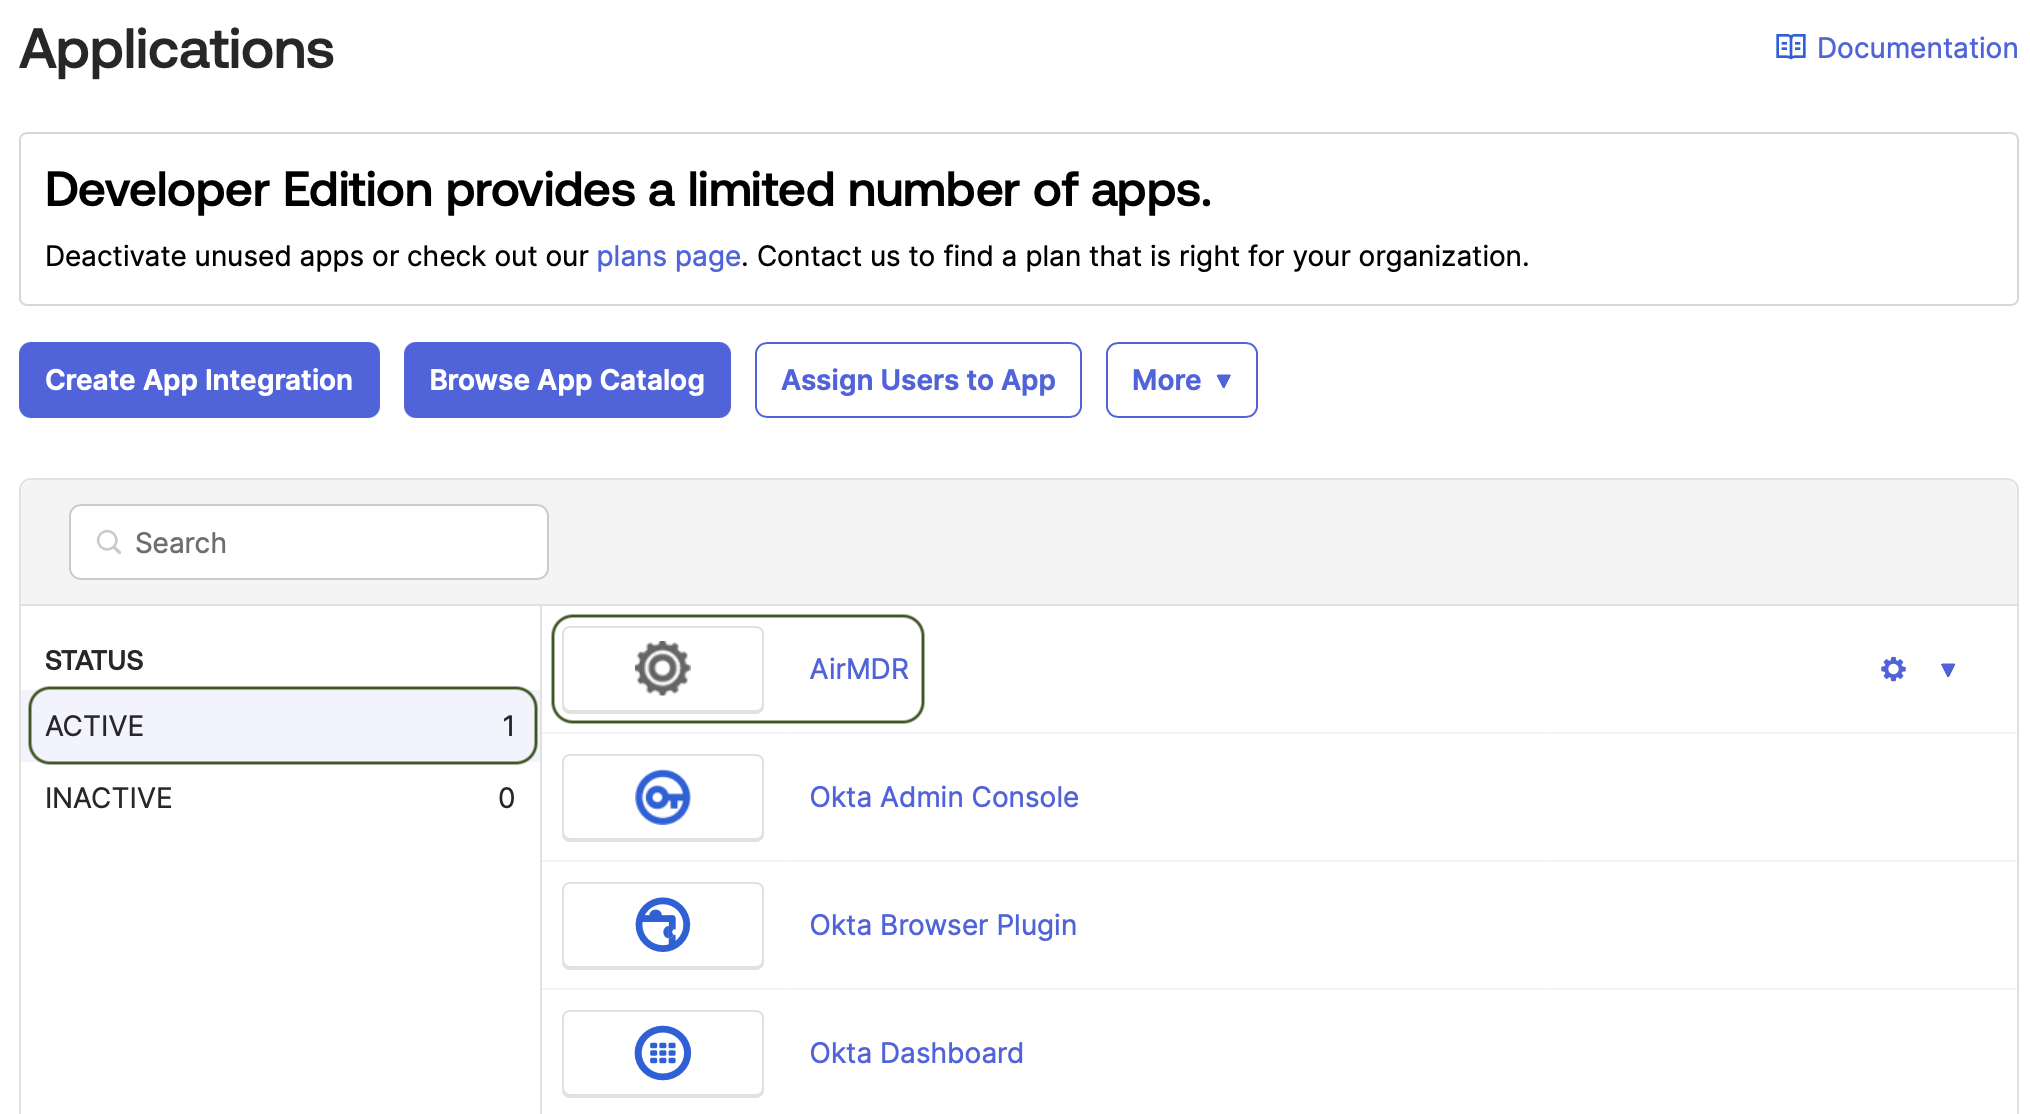
Navigate to Applications → Applications and click Create App Integration. A pop-up modal will show up.

-
In the pop-up modal, select the radio button next to SAML 2.0, and click Next.
-
Create SAML Integration
-
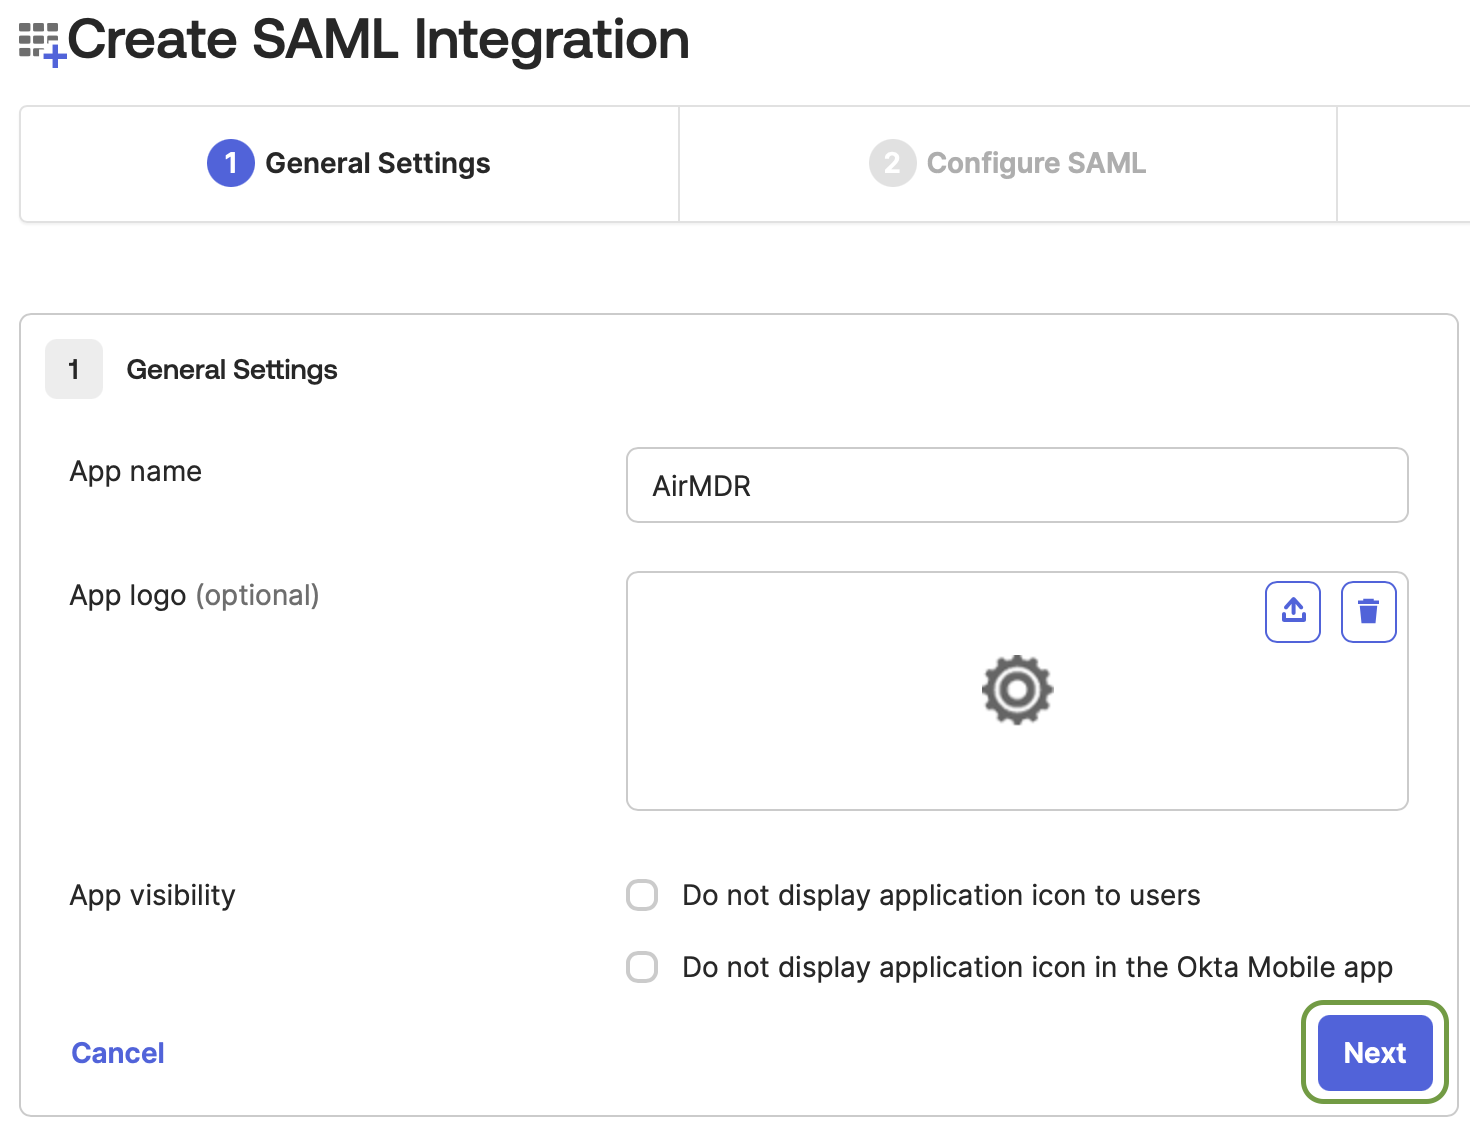
In the General Settings tab, provide the following details
- App Name: Enter
AirMDR - App logo: (optional) - Upload the AirMDR logo for easier identification.
- Click Next.
- App Name: Enter
-
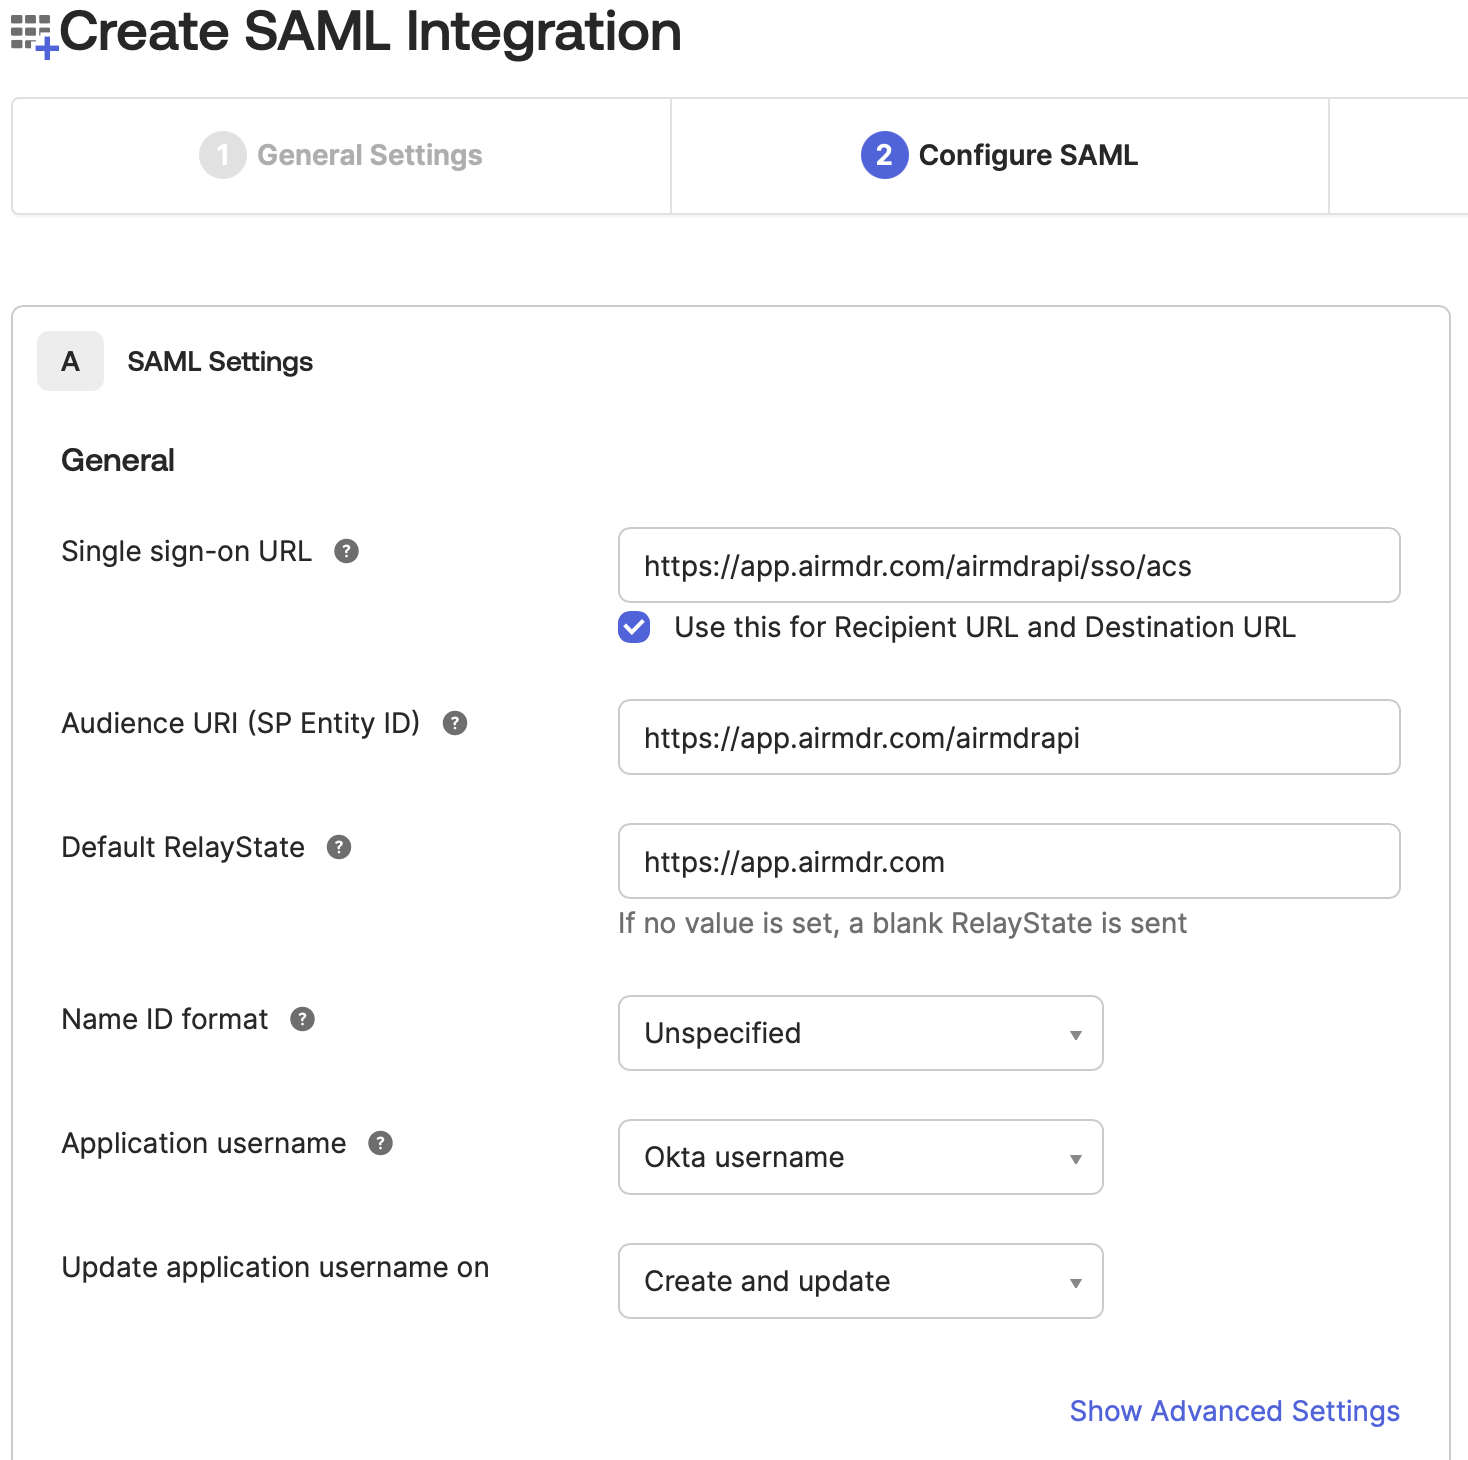
In the Configure SAML Settings tab, provide the following details
-
Single sign-on URL: https://app.airmdr.com/airmdrapi/sso/acs
Make sure the check-box is selected for “Use this for Recipient URL and Destination URL”
- Audience URI (SP Entity ID): https://app.airmdr.com/airmdrapi
-
Default Relay State: https://app.airmdr.com
-
Add a SAML attribute with name
emailand valueuser.email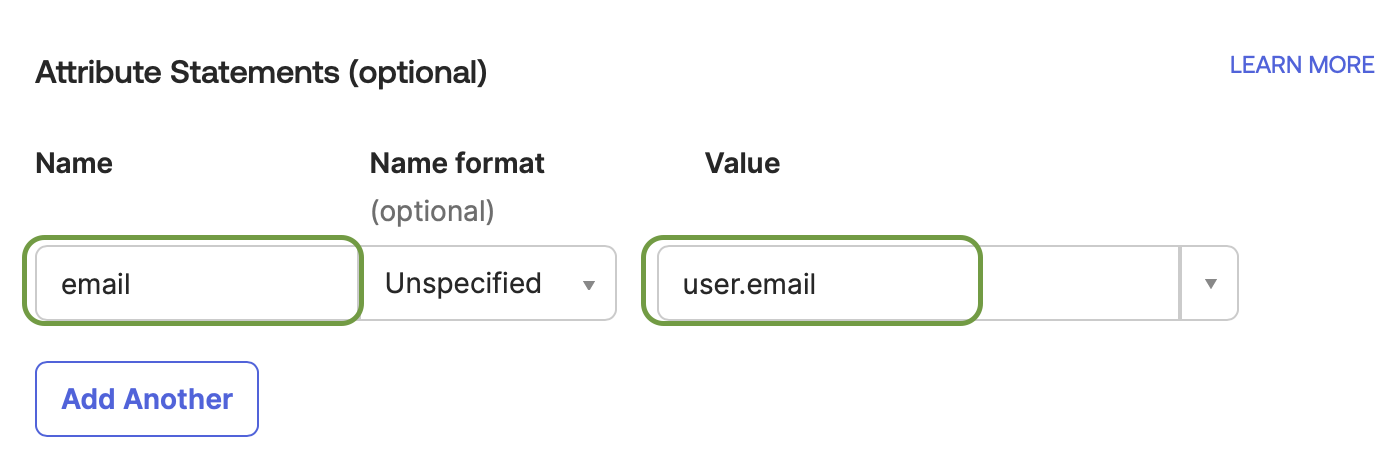
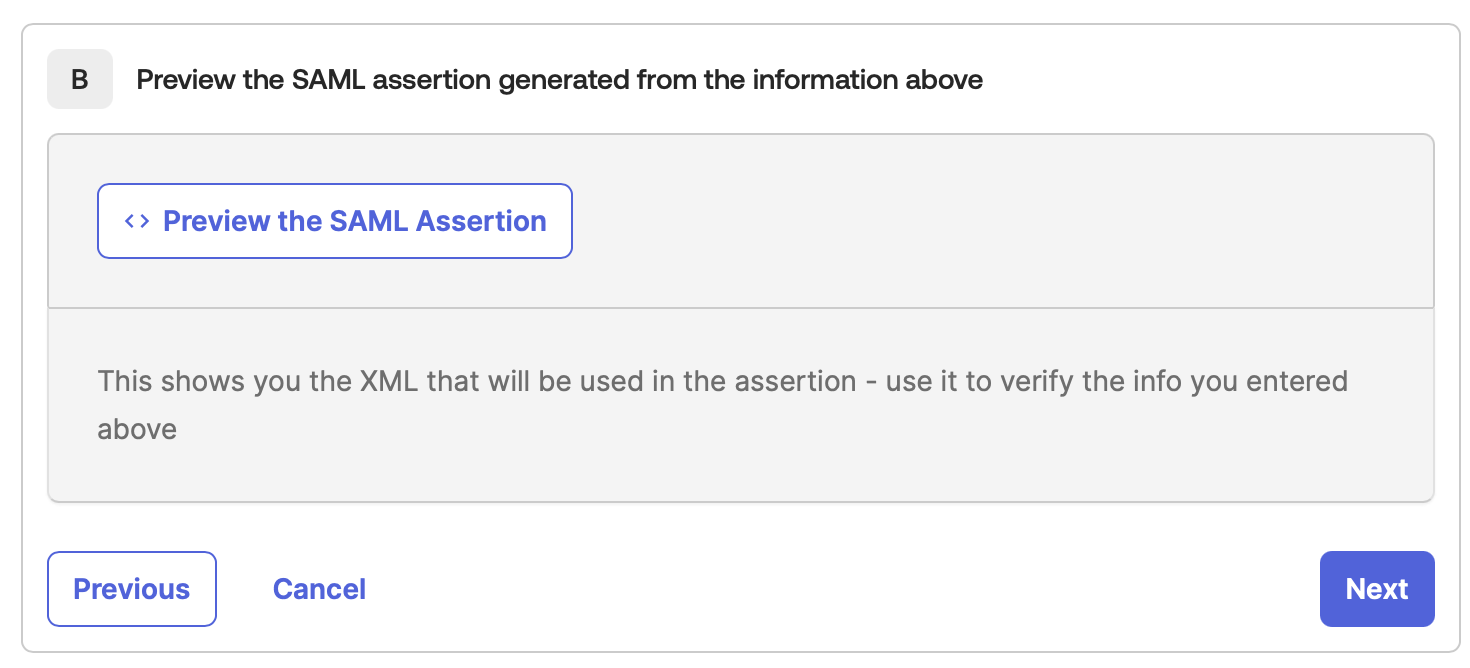
- In the B section, preview the SAML assertion generated with the information provided (optional)
-
Click Next.
-
Single sign-on URL: https://app.airmdr.com/airmdrapi/sso/acs
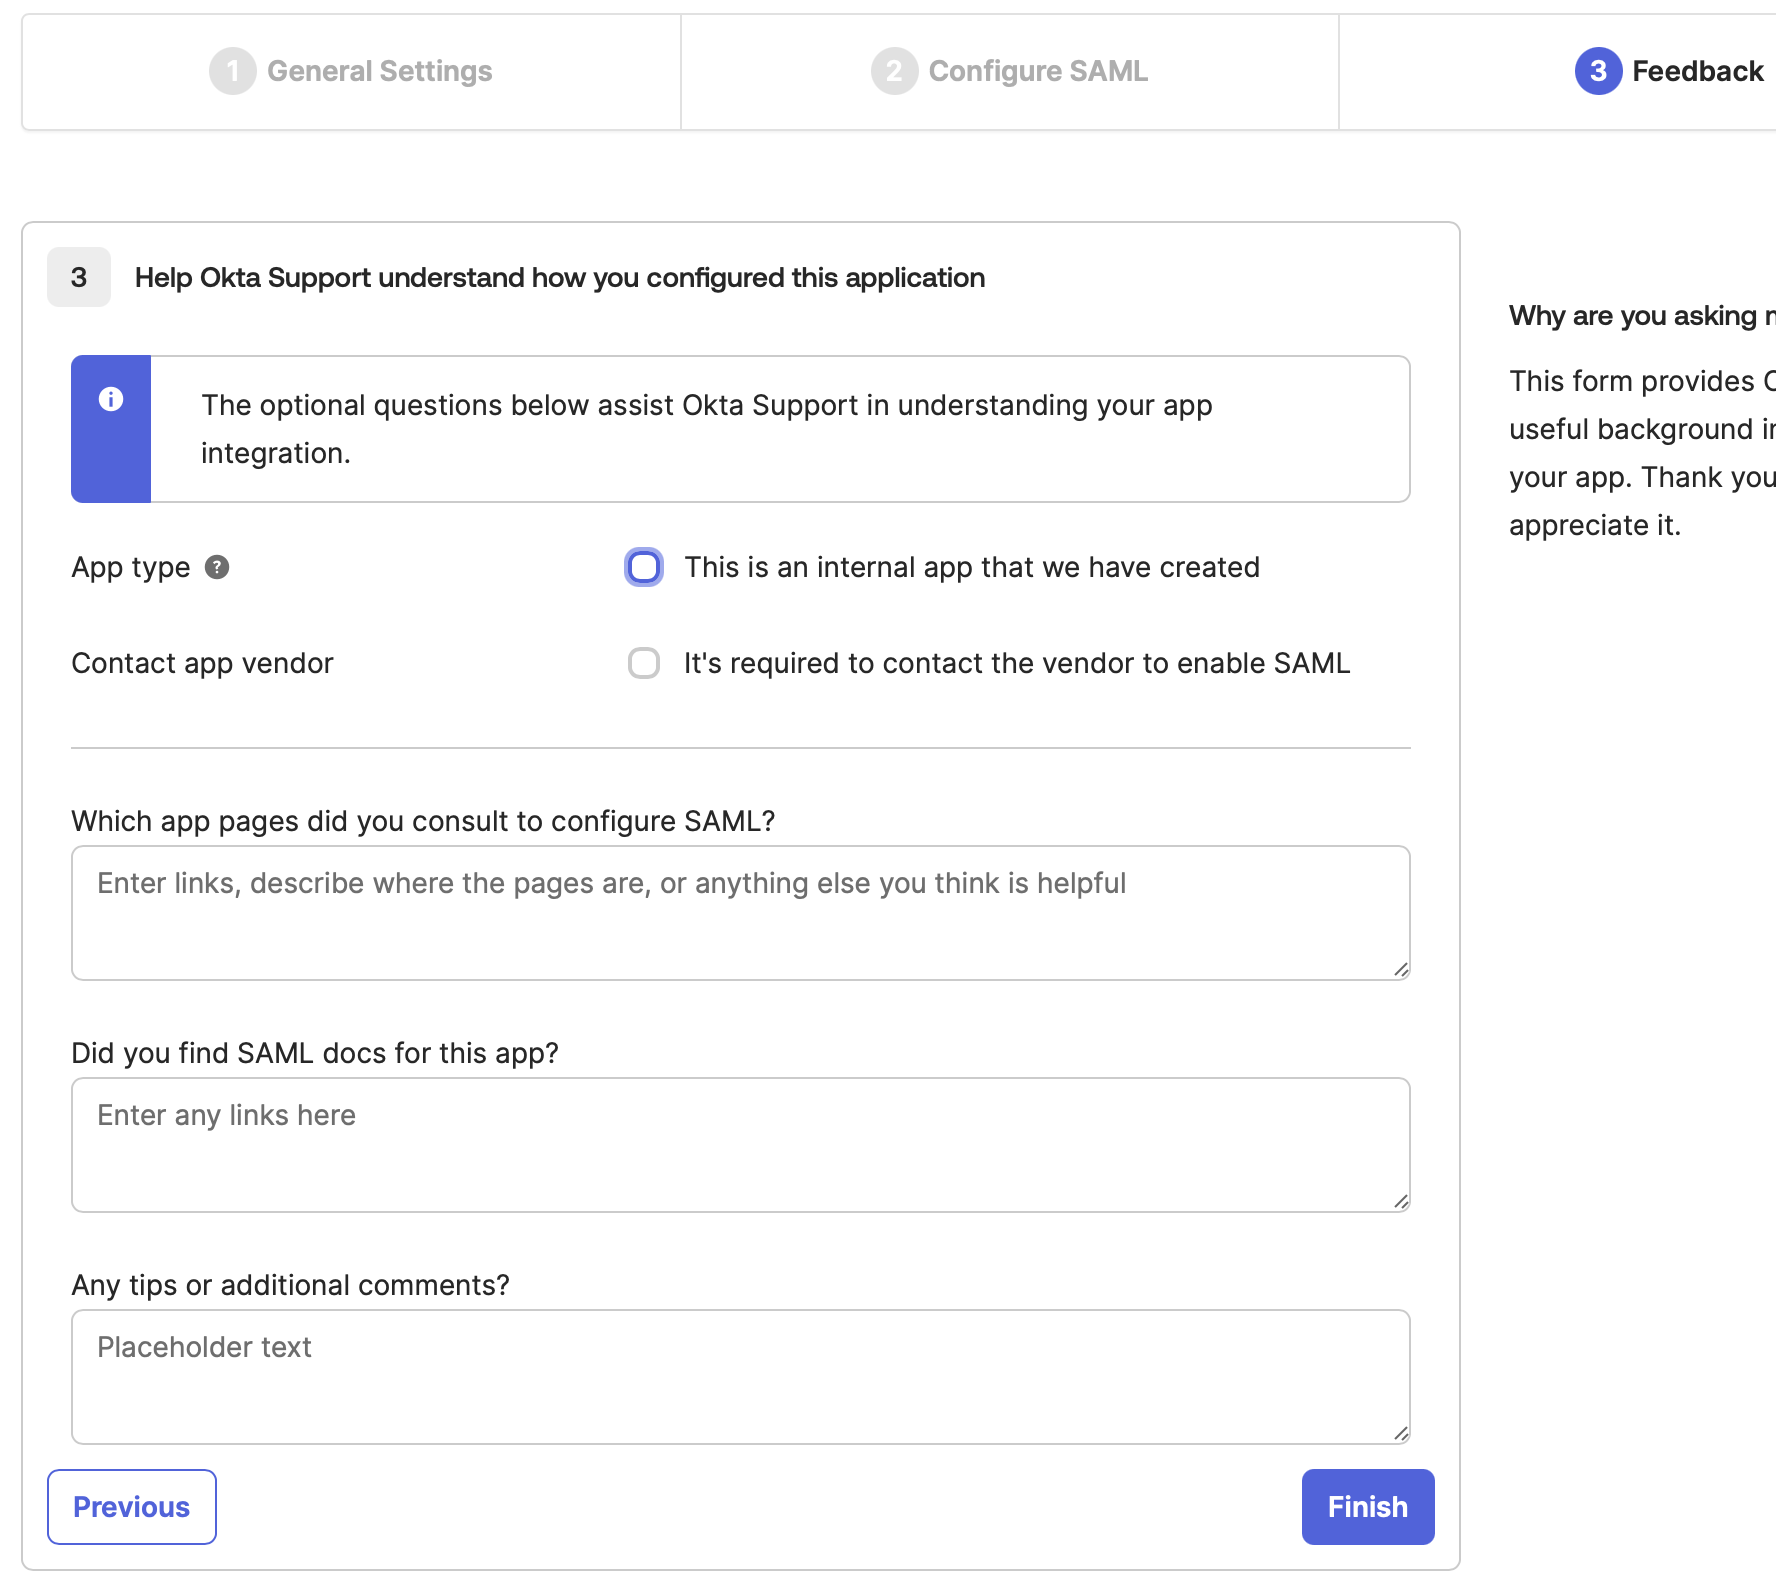
- In the Feedback tab, provide the necessary details for Okta Support to understand how you configured this application (Optional).
-
Click Finish.
-
In the General Settings tab, provide the following details
-
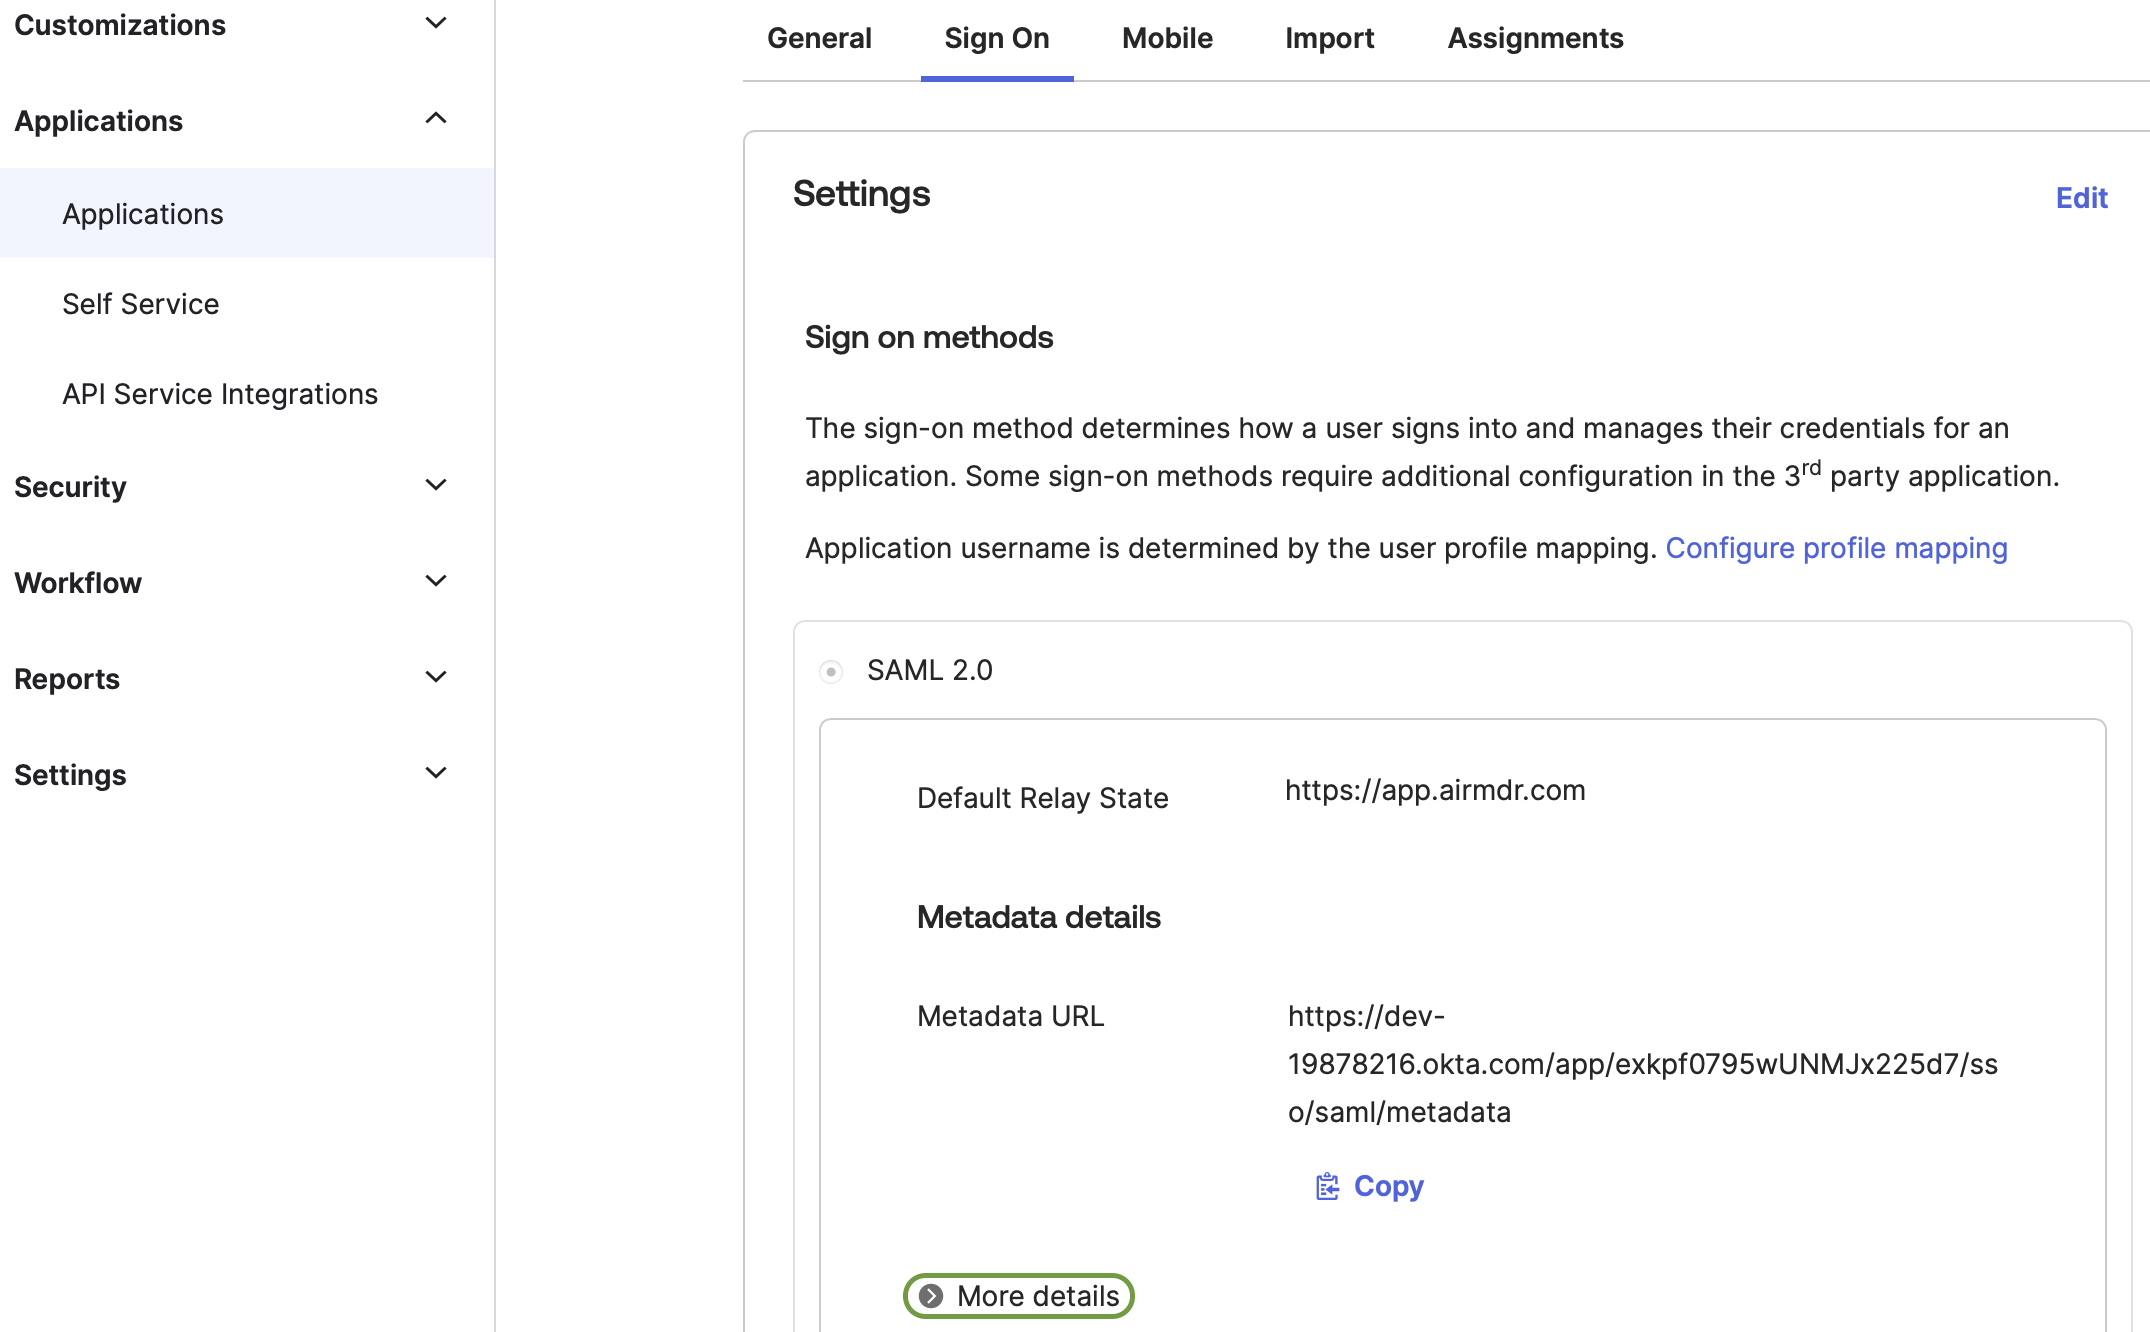
On Finishing, you will be redirected to application, select the Sign on tab.
-
Click on the More details drop-down.
-
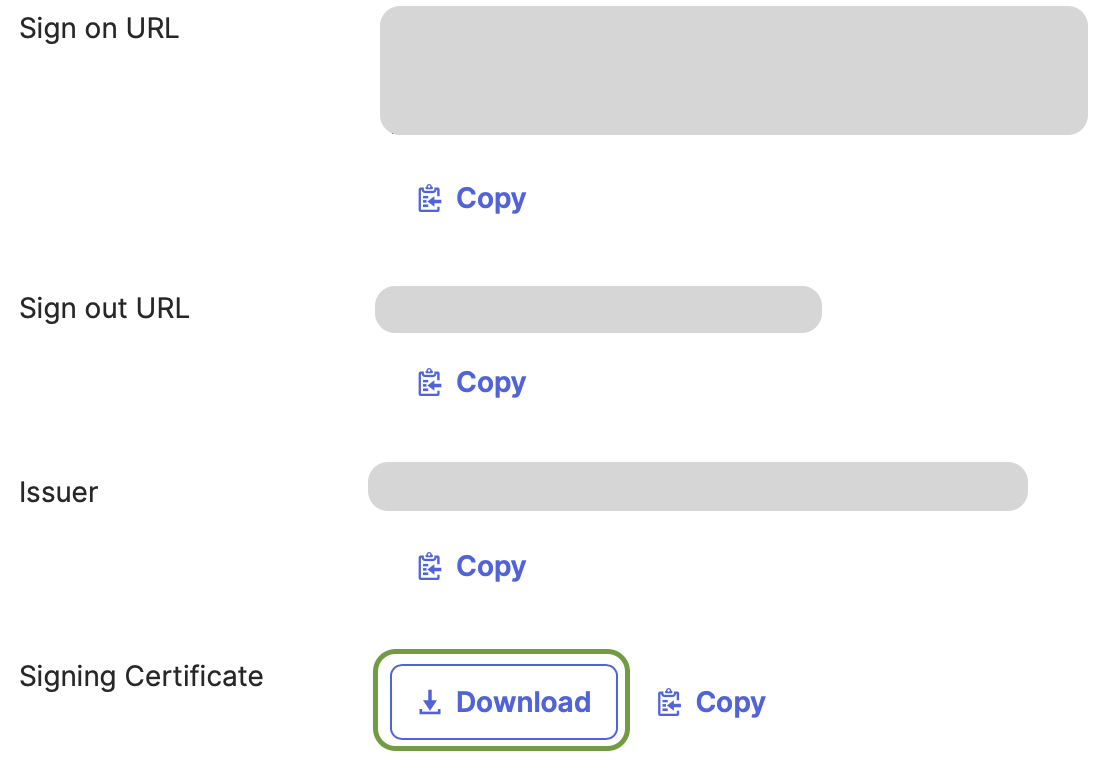
Securely Copy, Download the required Configuration Parameters
- Sign on URL
- Issuer ID
-
Download the Signing Certificate
- Go to the Assignments tab of the application (For example: AirMDR) you just created.
-
Click Assign → Assign to People or Assign to Groups.
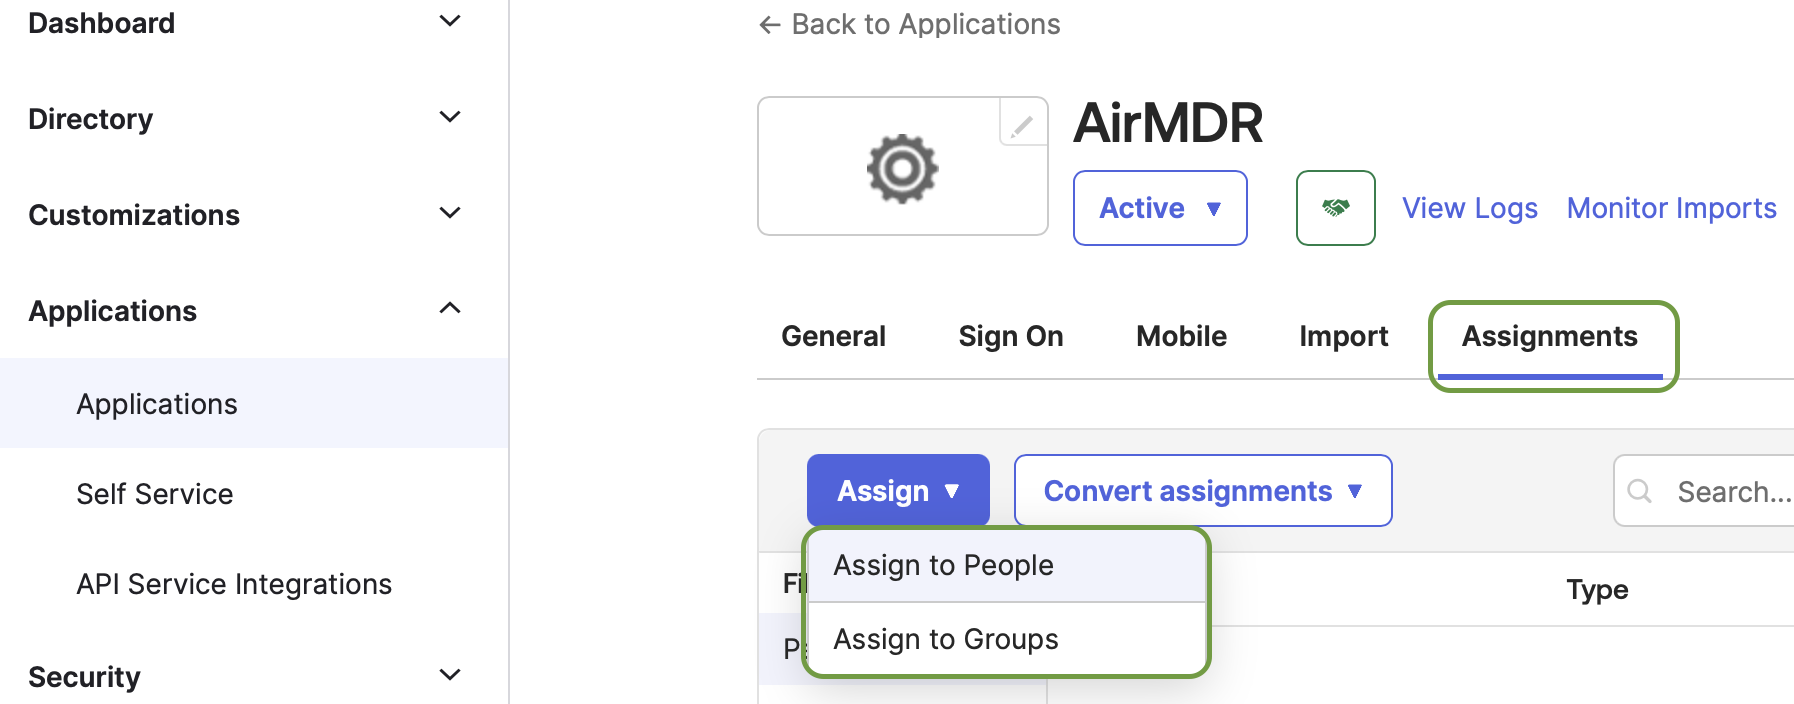
- Select the appropriate users/groups, then click Assign and Done.
Set up and configure Okta SSO in AirMDR UI
- Login into the AirMDR application.
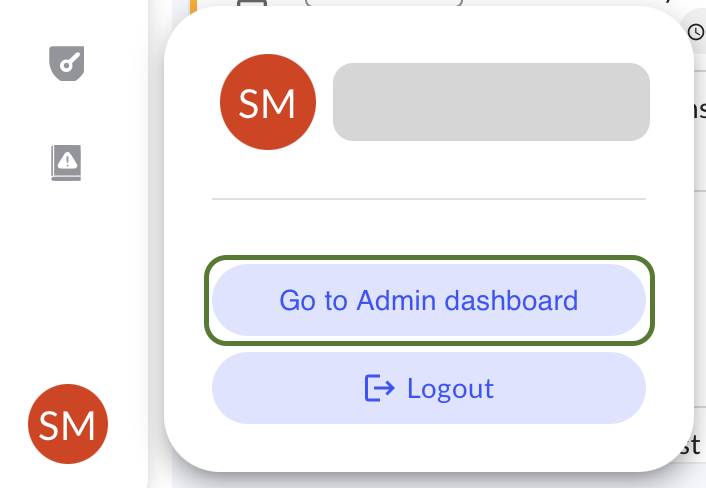
-
On the bottom left, click on the User and select Go to Admin dashboard.
-
Click on the midline ellipsis option (three dots) option below the ACTIONS column, and click Edit.

- Select the SSO SETTINGS tab.
-
In the Setup SSO dropdown list, select Yes, New Config.

-
Fill in the SAML Protocol Configuration Parameters details generated from Okta.
In the Identity Provider (IdP) to use dropdown list select Custom.Use Upload option to include the Identity Provider Certificate (Signing Certificate) downloaded from Okta.The downloaded Okta certificate has a default file extension of
.cert.
Users must ensure the file extension is changed to.crtbefore uploading.For example:Okta.crtIn the Provide your SSO endpoint, enter the Identity Provider Login URL (Sign On URL) copied from Okta. In the Use Issuer ID dropdown, select Yes and provide Issuer ID copied from Okta.
 -
Click Submit. (SSO Okta SSO Authentication is successfully created for your account).

To Evaluate Integration
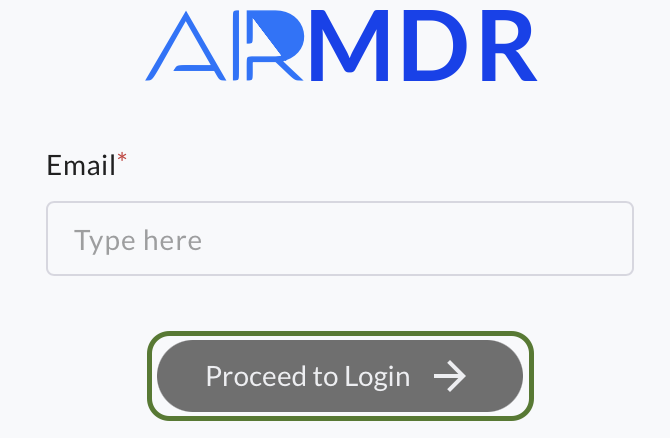
-
Navigate to the AirMDR Login page, enter your Email, and click Proceed to Login.
As your SSO Okta SSO Authentication is successfully created for your account.
- The page will be redirected to the Okta URL provided as the SSO Endpoint in the SSO SETTINGS.
- Enter the credentials created in the Okta → User Management
Hurray! You are Logged in Successfully