Pre-requisites
Users with an existing GCP environment, it is recommended to have a new project that links to your Google Workspace via the registered domain
Admin Access to the Domain DNS Settings
Setup Google Workspace
Setting up Google Workspace involves several steps, depending on whether you create a new account or manage an existing domain.1
Configure a New Project in GCP
GCP is hierarchical, so we must first create a project. If you already have a GCP environment set up, we recommend following similar steps below to create a new project that links to your Google Workspace via the registered domain.
-
Go to Google Cloud Console.
Sign in with your Google account used to set up Google Workspace.
- Click on the project selector (top-left dropdown near “Google Cloud”).
-
Click “New Project” to configure the project with all the necessary details:
- Project Name: Enter a unique name for your project (For example: AirMDR).
- Organization & Location: Enter airmdr.com as organization and location or your organization and your location.
-
Click Create.
Now you have Successfully created a New Organization and Project in GCP
Only the creator of the project has the right to manage the project.
2
Enable Admin SDK API and Google Workspace Alert center API
- Go to Google Cloud Console → APIs & Services.
- Click Enable APIs and services in the top menu.
- Search for Each API:
- Search “Admin SDK API”, click it, and click “Enable”.
- Search “Google Workspace Alert Center API”, click it, and click “Enable”.
- Search “Gmail API”, click it, and click “Enable”.
When finished, you will have enabled the Admin SDK API within your project, where your service account will have access to pull data from Google Workspace.
3
Configure OAuth Consent Screen in Google Cloud Platform (GCP)
- Go to the Google Cloud Console.
- Select your project.
- Navigate to “APIs & Services” → “OAuth consent screen” in the left-navigation pane.
- Click Get started.
-
Configure App Information with the required details:
- App Name: airmdr-agent
- User Support Email: Provide an email for users to contact (For Example: your email address), and Click Next.
- Choose Audience as Internal.
- Provide the Developer Contact Information: (For Example: your email address), and click Next.
- In Finish, mark the checkbox to acknowledge and accept the terms of Google User Data Policy.
-
Click “Create”.
After successful configuration, we will now have a registered application using OAuth 2.0 for authorization and the consent screen information setThe default token request limit for this app daily is 10,000 and can be increased on request.
4
Create a Service Account in Google Cloud
A service account is required for the AirMDR agent to ingest data from Google WorkspaceThis account is meant for non-human applications, allowing it to access resources in GW via the Admin SDK API we enabled earlier.
This is required to access Google Workspace APIs like Admin SDK API and Google Workspace Alert Center API.
-
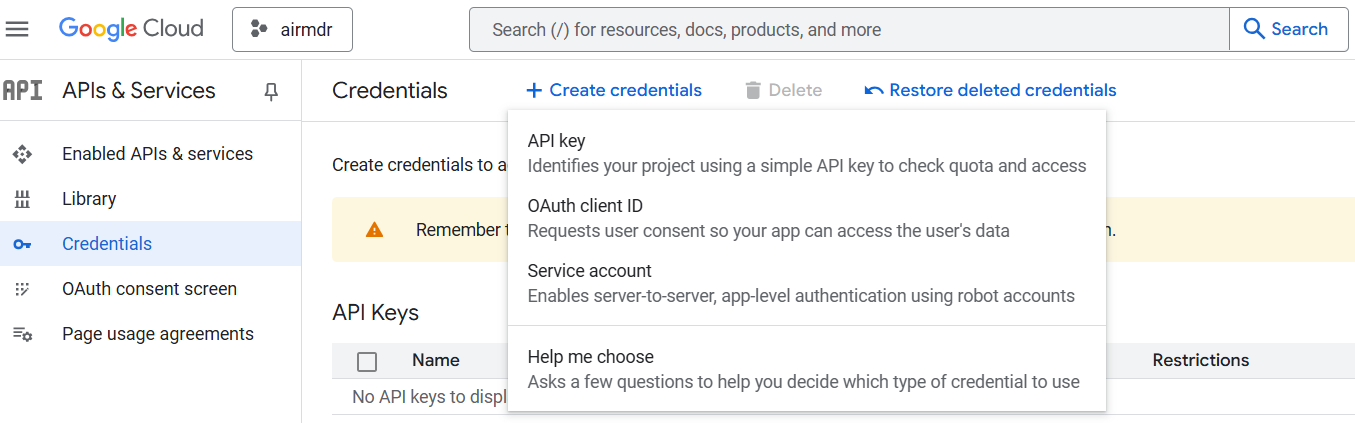
Go to Google Cloud Console → APIs & Services → Credentials → + Create credentials → Service account.
-
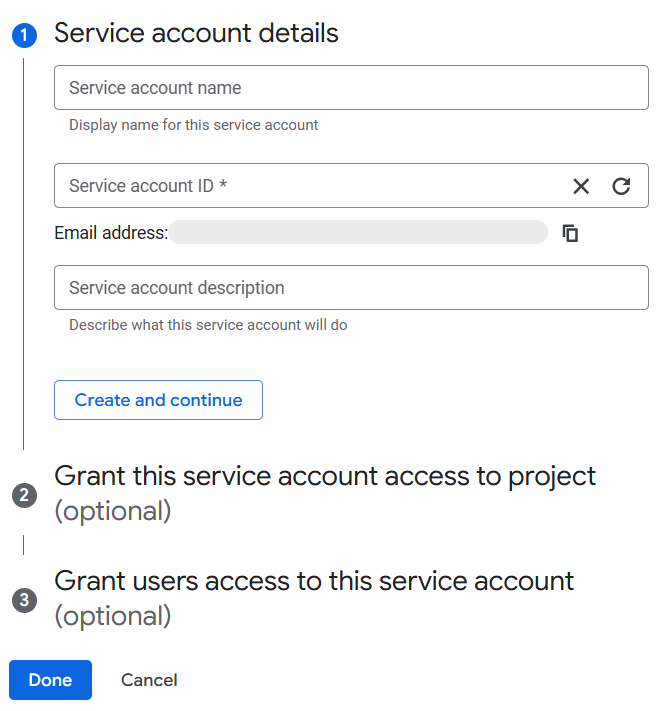
On the “Create Service Account” page provide the required details:
- Service account name:
airmdr-agent - Service account ID:
airmdr-agent - Service account Description: Describe what this service account will do
- Service account name:
- Click “Create and Continue”.
-
Assign necessary roles to grant permissions:
- “Service Account Token Creator”
- “Viewer” or “Editor” (if needed for managing resources)
-
Click “Done”.
- Click on the newly created service account.
- Go to the “Keys” tab.
- Click “Add Key” → “Create New Key”.
After successful configuration, we will now have a service account named airmdr-agent, a Service Account JSON file with the necessary credentials for this service account saved to your host.
Securely save and share the downloaded Service Account JSON file to AirMDR.
Sample Service Account JSON
Sample Service Account JSON
By default, the Owner role will be applied to this service account based on inheritance from the project
5
Enable Domain-Wide Delegation
Only admins can perform this action.
- Go to Google Workspace Admin Console.
- Navigate to Security → Access and data control → API controls.
-
Select Manage Domain Wide Delegation → Add a new client ID and enter the required credentials:
- Client ID
- OAuth Scopes

-
Click “AUTHORIZE”.
Now you have Successfully enabled Domain-wide Delegation in Google WorkspaceAirMDR requires the JSON file generated while configuring the Service Account or an email ID that has admin access to read alerts in the Alert Center UI
AirMDR Service account in GCP only needs access to:- admin.reports.audit.readonly: To access Google Workspace Audit Reports
- apps.alerts: To read alerts
6
Admin Email ID Requirement
To successfully integrate Google Workspace with AirMDR, the
admin_email_id parameter is required during the configuration process. This email address must correspond to a valid Google Workspace administrator account within your organization.Purpose
Theadmin_email_id is used by AirMDR to:- Authenticate access to your Google Workspace environment.
- Ensure authorization for retrieving security-related data and configuration settings.
- Maintain a consistent point of contact for system alerts or integration-related events.
Guidelines
- Use your primary business email ID that has Google Workspace Admin privileges.
- Ensure the account has sufficient permissions to grant scopes requested by AirMDR for monitoring and automation.
-
The email ID must be actively monitored, as integration health notifications and audit-related communications may be routed to this address.
Example:
admin_email_id: "security-admin@yourcompany.com"If your organization uses service accounts for automation, theadmin_email_idis still required to validate permissions and maintain traceability within audit logs.✅ Summary of Retrieved Credentials
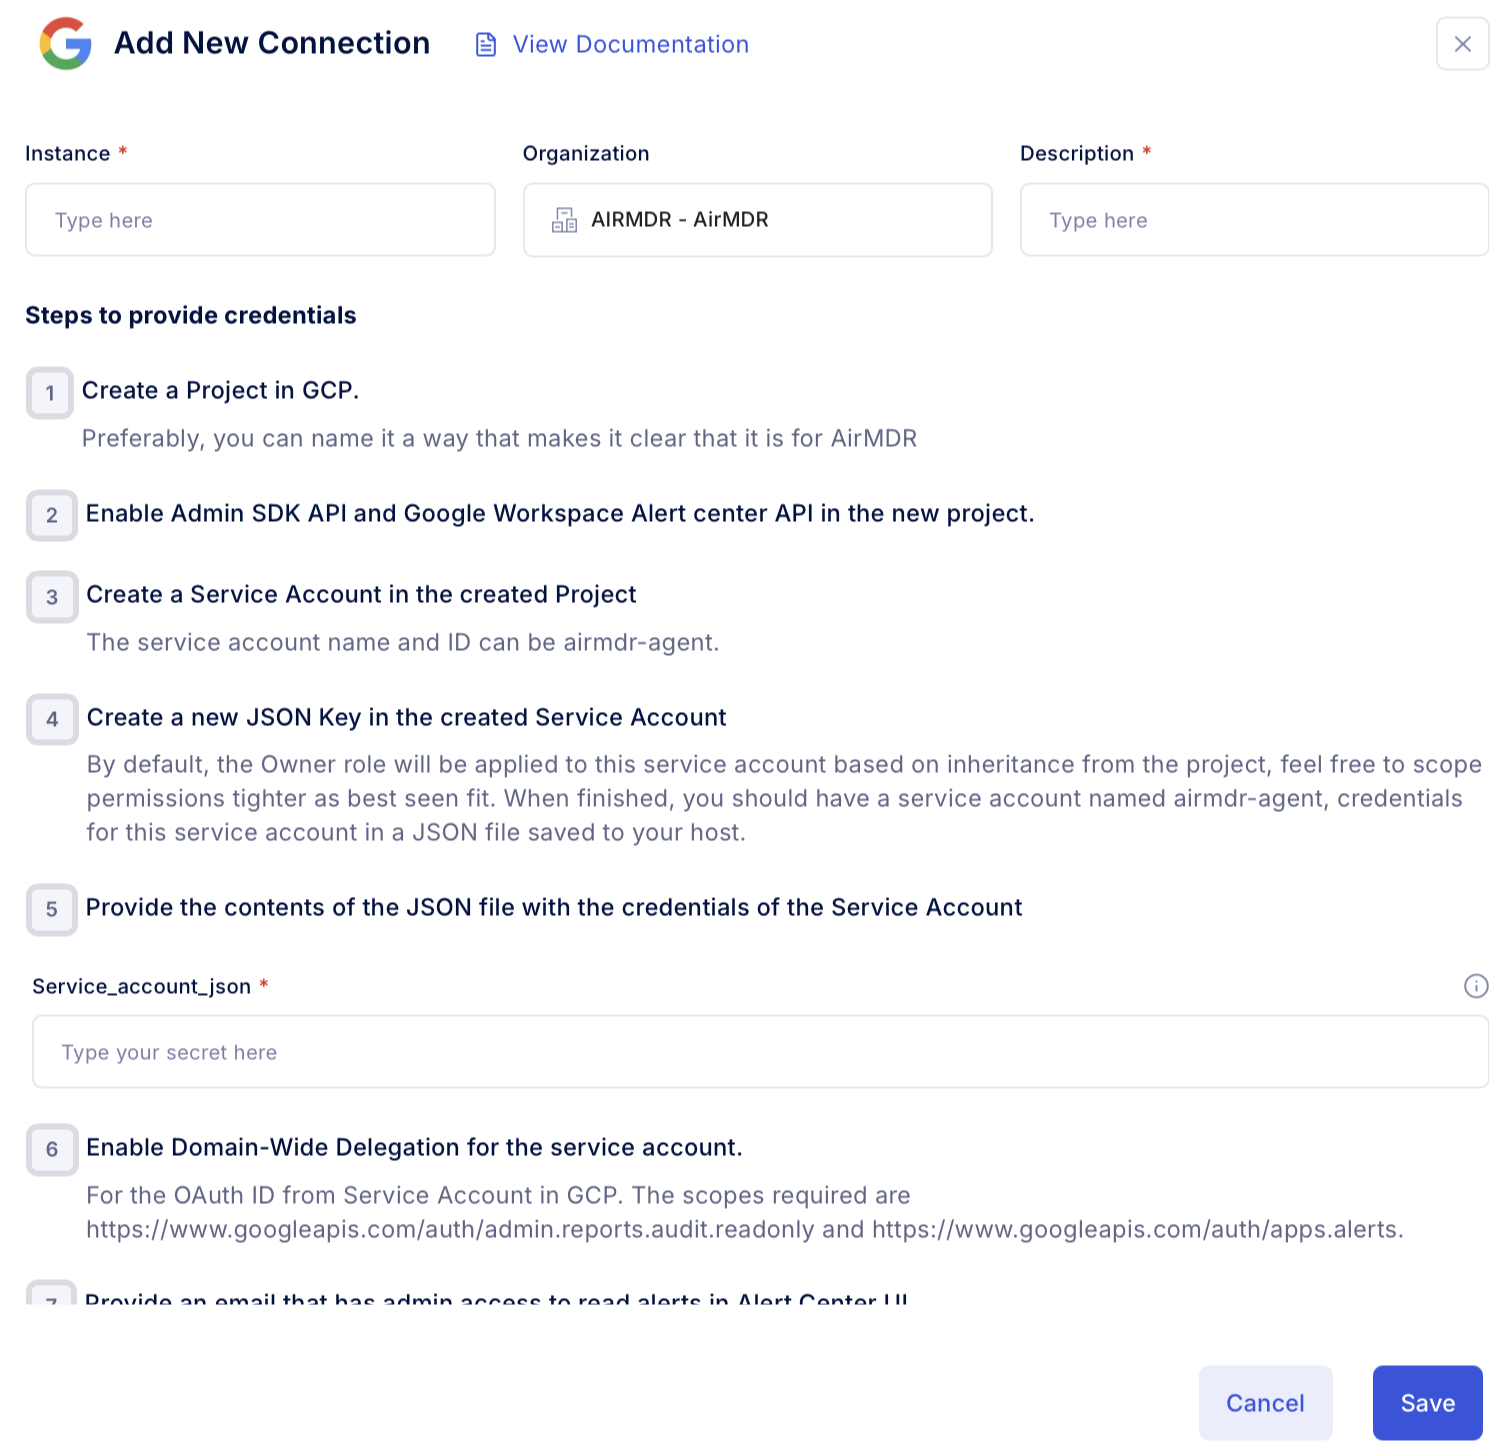
Configure Google Workspace in AirMDR Integrations Dashboard
-
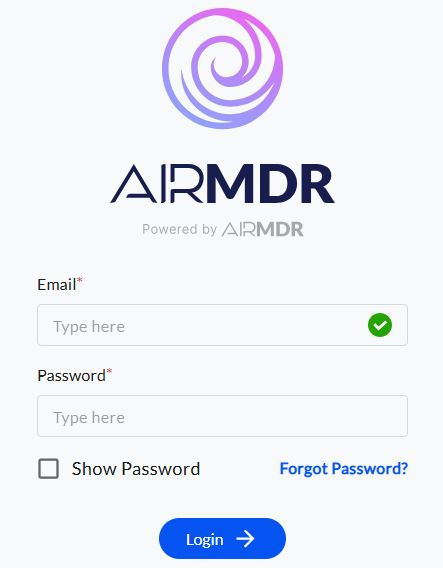
Navigate to AirMDR, provide the credentials, and click Login.
-
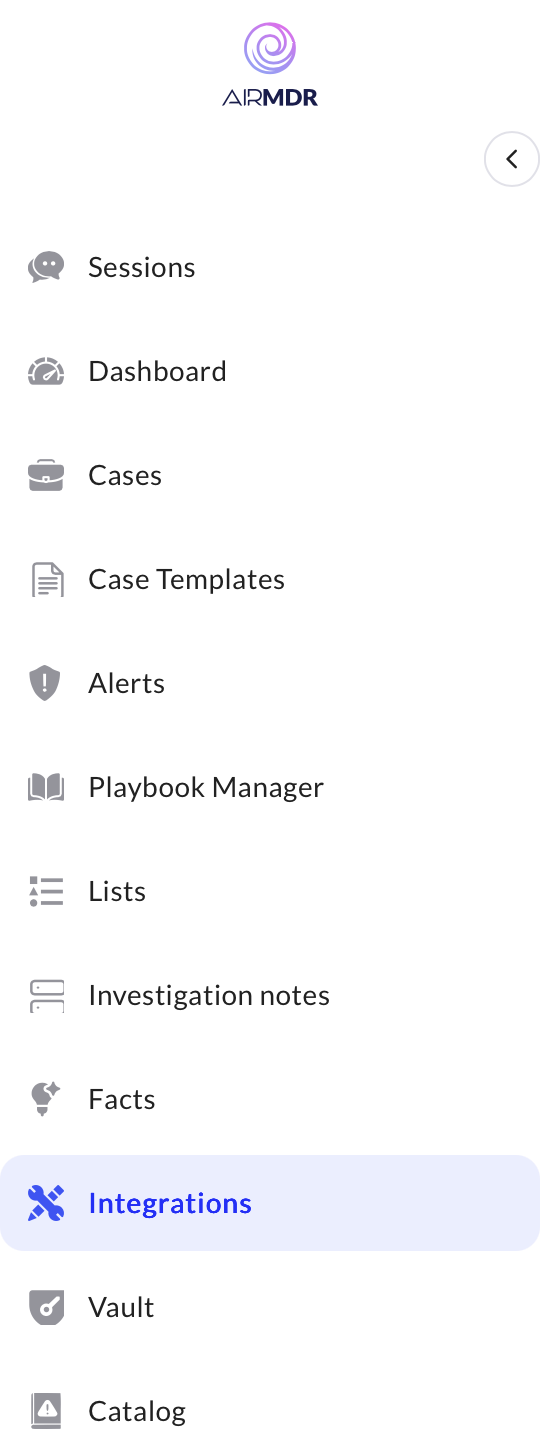
Navigate to the AirMDR Integrations Dashboard in the left navigation pane and select Integrations.
-
Use the search option, enter the keyword “Google Workspace”, select the Connections tab, and click the Add New Connection icon.

-
Enter the generated admin_email_id, provide the contents of the generated JSON file with Service Account credentials in the Authentication Details field params, and click Create.