Generate Jamf Protect Client Password and Client ID for API Authentication
To integrate with Jamf Protect via its API (for example, in order to use it with third-party tools like AirMDR, or custom apps), you need to generate the Base URL, Client ID, and Client Password via the Jamf Pro UI.1
Create API Client Credentials in Jamf Protect
-
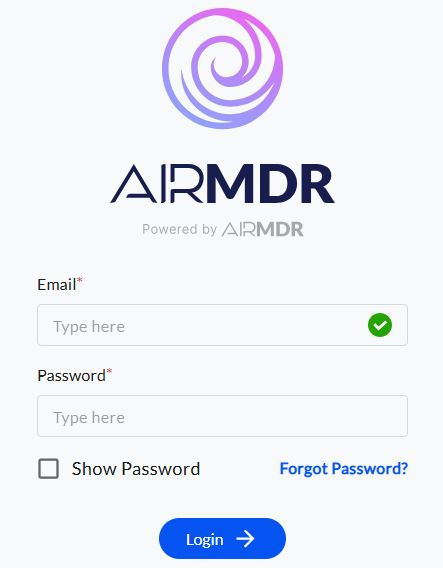
Login to the Jamf protect console with your credentials.
- URL:
https://your-tennant.protect.jamfcloud.com
- URL:
- Provide the necessary credentials (Email and Password), and click Sign In.
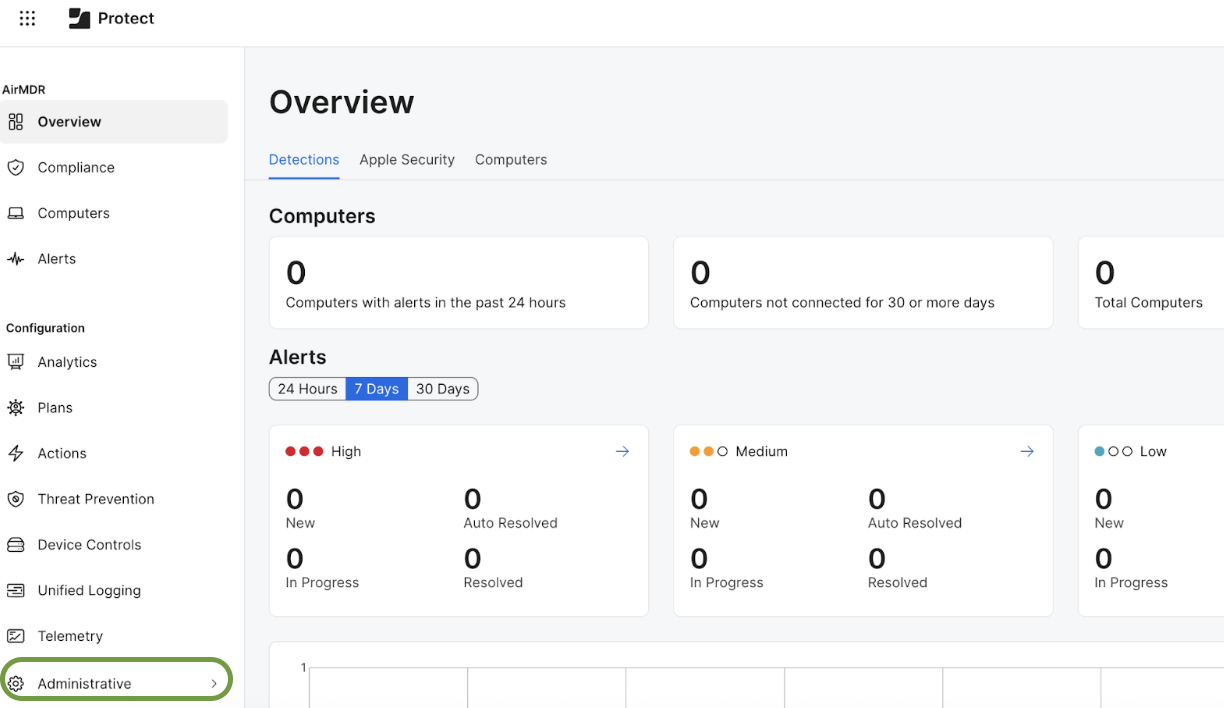
- User will be redirected to the Overview Dashboard.
-
Click on the Administrative in the left navigation pane.
2
Create an API Client
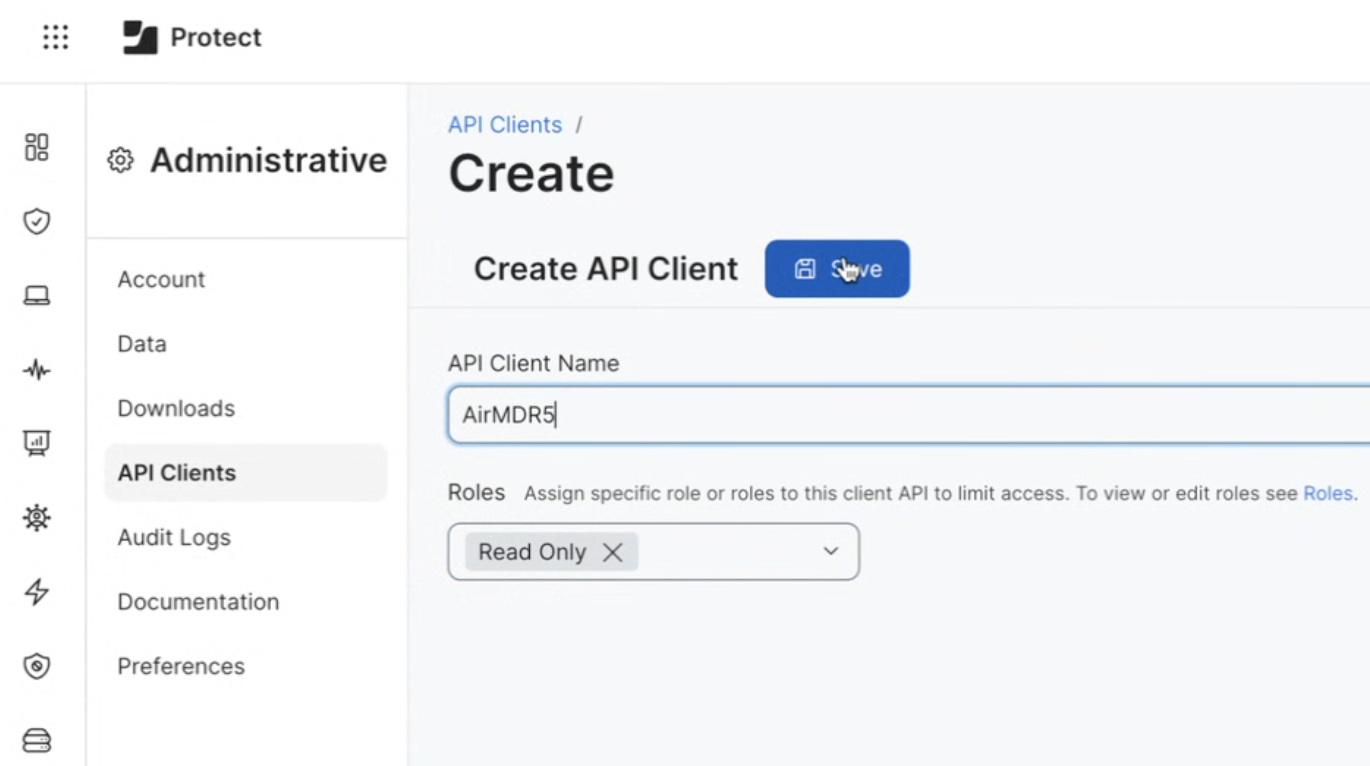
- Select Administrative → API Clients.
-
Click on “Create API Client”.
-
Fill in the Client Details form to create a new API client
- API Client Name: A name for your integration (e.g.,
AirMDRIntegration,AirMDRConnector). - Role Type: Choose
Read Only(Assign specific role or roles to this client API to limit access).
- API Client Name: A name for your integration (e.g.,
- Click Save.
3
Generate Client ID and Client Secret
-
Afer saving, a dialog box will display with your API Client Password.

- Once you close or click Dismiss on the API Client Password dialog box, you will be redirected to Administrative → API Clients → API Client Summary page.
-
Under the Summary tab, you can access
- Client ID
- Token and API Endpoints
Jamf Protect uses GraphQL for its API, and each request must include an authorization header with the access token obtained using the above credentials.
4
Determine Base URL
- The Base URL is simply your Jamf Protect URL:
Example: https://yourcompany.protect.jamfcloud.com
Email the Base URL, Client ID and Client Password to AirMDR
or
Self configure Jamf in the AirMDR Integrations Dashboard.
or
Self configure Jamf in the AirMDR Integrations Dashboard.
Skills Provided by this Integration
Jamf Protect API Testing
Open cURL and run the following command to check if your API Key is working: RequestConfigure Jamf in the AirMDR Integrations Dashboard
-
Navigate to AirMDR, provide the credentials, and click Login
-
Navigate to the AirMDR Integrations Dashboard in the left navigation pane and select Integrations
-
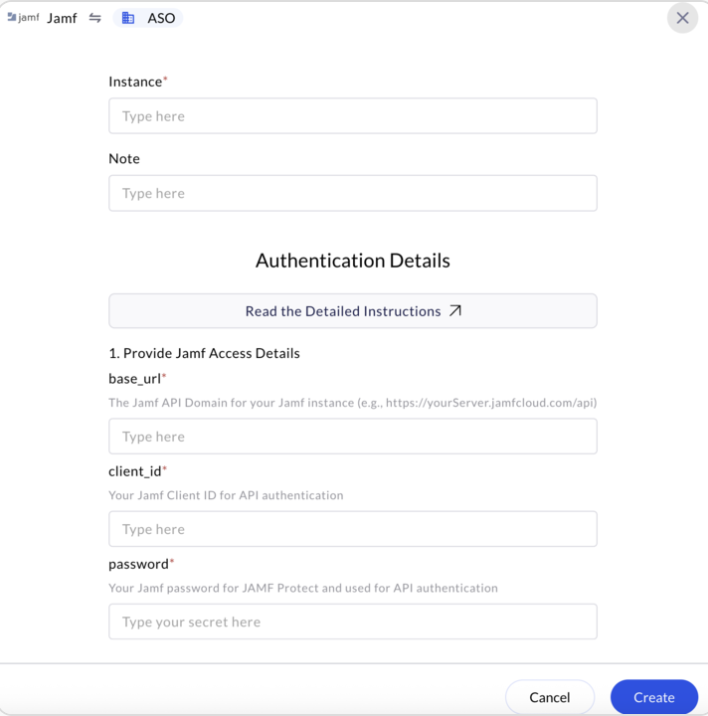
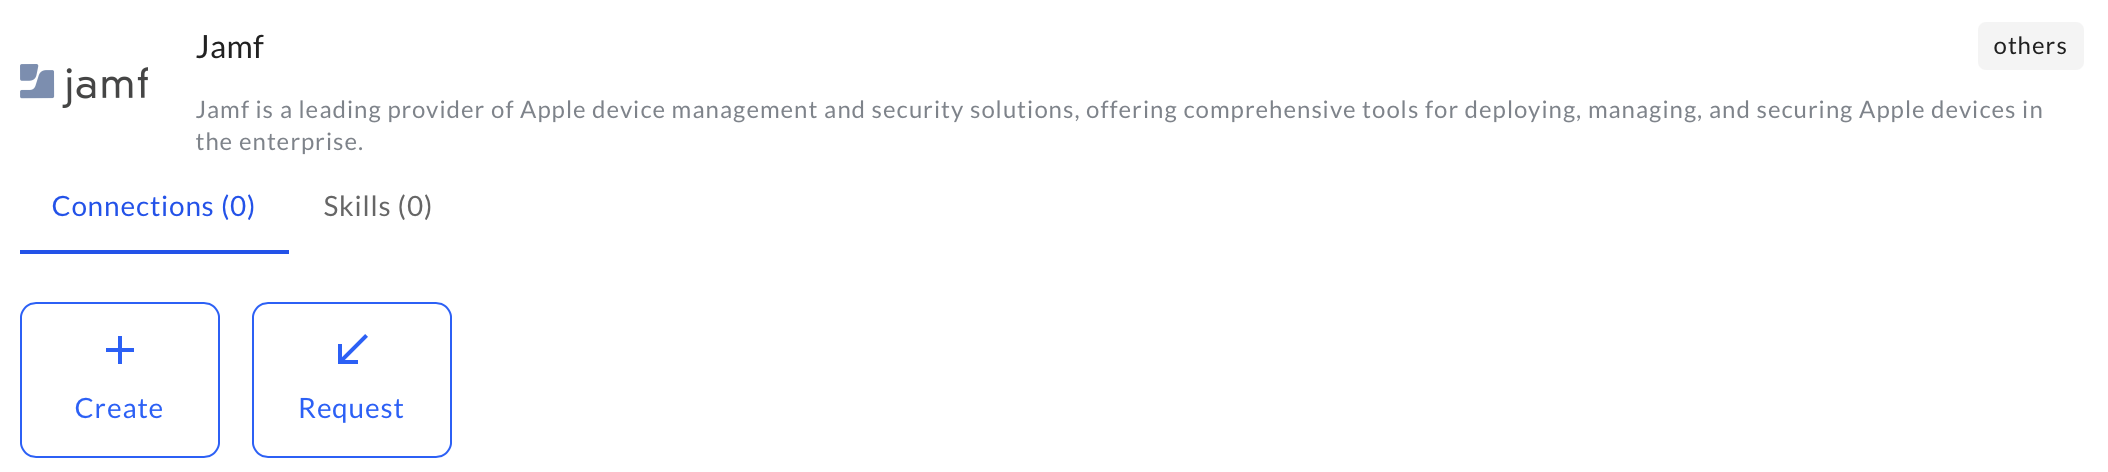
Use the search option, enter the keyword “Jamf”, select the Connections tab, and click Create.
-
Enter an unique name to the Instance (e.g.,
your org name-Jamf Protect) to easily identify the user connection by AirMDR. -
Enter the generated Base URL, Client ID and Client Secret in the Authentication Details field params, and click Create.